Finally, I am sharing this last piece of my animal key pouch/purse pattern in this series. Please welcome my kind of designer key pouch, LaLa, the Llama Key Pouch. If you’ve missed out on the previous patterns in this series, just click the “Previous” button at the end of the post, we have 4 Puppies / Dogs, Monkey, Bunny, Deer, and Llama, 8 of them.

Besides these animal-themed pouches and purses, I also have other animal patterns in Craft Passion. For your ease of searching them, please find them from the Gallery page. Or, use the search bar to search for the particular animal.

Llama Key Pouch Sewing Pattern
scroll ⬇️ to get the free sewing pattern & tutorial
LaLa Llama Key Pouch measures around 3.5″ (W) x 3.75″ (H), excluding the lobster claw clasp at the top of the key pouch. The key pouch can easily hold up to 8 normal keys, fully hidden inside and feeling cozy in there too 😉.
This key pouch design comes with an open pocket at the back, you may keep some small note in there as emergency money and or a door access card.
The main materials of this key pouch are fabric (I used yarn-dye fabric, just in case you want to know), felt and batting, black button eyes, keyring, lobster claw clasp connected to a leather cord. Scroll down for more details on the other items and their quantity you will need to sew this.

My first encounter with Llama was about 24 years ago while I was completing my Msc. in the UK. My course mates and I went to one of the national parks during a long weekend and this was the first time I see Llama (at the age of 24 ><).
It was an amazement to me to see a small head furred animal that looks like a camel, I never know the existent of this animal in the world. The impression of Llama is docked and I began to discover more about this animal and appreciate what it contributes to the world. Many years later, I started to see Llama (or Alpaca?) stuffed toys in the market and it has gained love from the kids as well. Bravo, Llama!!!

While sharing this key pouch sewing pattern, I have actually finished another design or 2. Meanwhile, the new designs are waiting for me to gather all the details and refine the pattern and tutorial before publication in Craft Passion. I am putting every effort to make all my patterns and tutorial easy to understand for you all to make, in return for your years of support that motivates me to continue. I can’t appreciate more of all your lovely comments and spreading the good word around your social media and network.
THANK YOU VERY MUCH!!!! I LOVE YOU!!!!
What’s Next
- Start sewing and share your completed handmade on Facebook and/or Instagram. Remember to tag us, @craftpassion, so that we are able to see them.
- Pin it to Pinterest for future To-Sew List
- Share with your sewing groups for a sew-along event.
- Learn more about the basics of hand sewing and how to choose a sewing machine for beginners.
- Browse more free sewing patterns to sew, especially the Free Bag & Purse Sewing Patterns Library

Llama Key Pouch Sewing Pattern
LaLa, the Llama Key Pouch measures around 3.5 (W) x 3.75 (H) inches, excluding the lobster claw clasp at the top of the key pouch. The key pouch can easily hold up to 8 normal keys, fully hidden inside and feeling cozy in there too 😉.
This key pouch design comes with an open pocket at the back, and you may keep some small notes in there as emergency money and or a door access card.
Enjoy sewing it. Be it as a gift or for your own use, it sure is a special kind of designer key pouch!
Download and print separately: SEWING PATTERN.
Materials
- Fabric, Body – Khaki, approx 12″ x 9″
- Fabric, Muzzle – Beige, approx 2.5″ x 3″
- Fabric, Ears – Dark Brown approx 4″ x 4″
- Felt, Face – White, approx 3″ x 2″
- Batting or Felt – approx 11″ x 9.5″
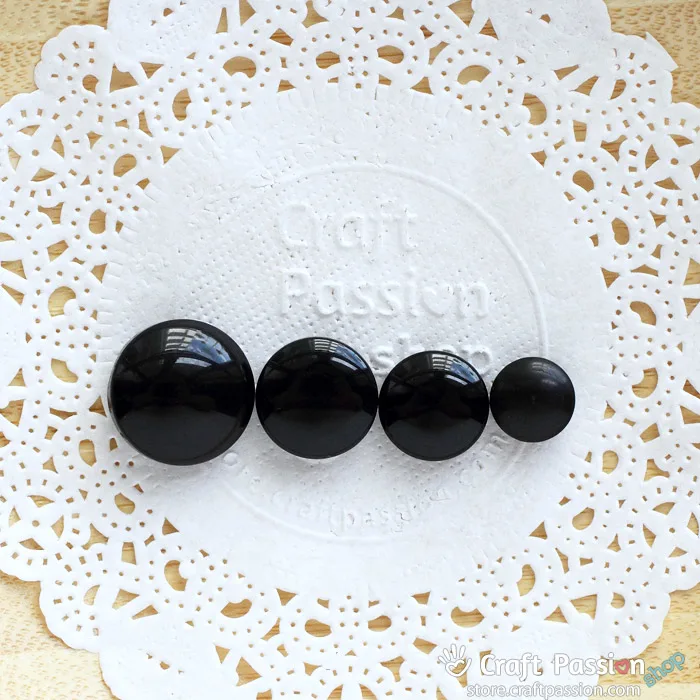
- Button eye 9 mm, black, 2; or equivalent button (as eyes)
- Key Ring, chain or cord, and Lobster Claw Clasp. The chain is 2″ long. The cord is about 5″ long.
- Embroidery Floss, Dark Brown
Tools
- Sewing machine or you may hand sewn it
- Sewing needle, pins, matching threads
- Scissors
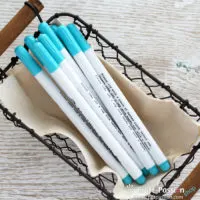
- Water Erasable fabric marker, for light color fabric
- White fabric marker, for dark color fabric
- Tweezers (blunt tip) or any similar tool for turning small part inside out
- Printer, 8.5″ x 11″ cardstock paper for the template printing
Instructions
- Gather all supplies listed above and download the LaLa Llama Key Pouch Template. Print the templates on cardstock paper and cut them out accordingly.

- Cut out the fabric and batting pieces according to the quantity stated on each of the templates. The fabrics and batting have to be at least 1/2″ bigger (1/4″ on each side) than the template in width and length respectively.
Cut eyepiece out from felt without any seam allowance needed.
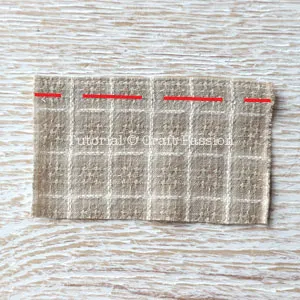
For making an open pocket at the back of the pouch, a provision of 3/4″ seam allowance at the top of the back pocket is needed. This is for double folding of the raw edge at the top of the open pocket.
Trace the outline of the template on the wrong side of the fabric accordingly.
- Sew an open pocket at the back of the llama key pouch:
Double-fold the top edge of the open pocket and double topstitch with 1/4″ apart.
Referring to the template, mark the top edge of the back pocket on the right side of the back piece of the pouch body.
Place the pocket piece onto the back pouch piece, align the top edge to the marking line.
Make a few stitches on the seam allowance to secure the pocket in place.
- Sew key pouch back piece:
Place batting on the table, followed by a piece of pouch body fabric with the right side facing up. Then place the pocket pouch piece on it with the right side facing down. Pin all 3 pieces together (batting and 2 pouch fabric pieces).
Sew around and leave an opening at the side of the pouch but avoid the pocket area.
Trim the seam allowance of the batting to 1/8″ or as near to the sewing line. Trim fabric seam allowance to 1/4″.
Set aside.
- Sew the pouch front piece, ears, and muzzle with the same method, i.e. by layering a batting or felt at the bottom of the 2 layers fabrics which is with the right side together.
The white felt eyepiece needs no work here.
For the muzzle, instead of leaving an opening on the seam, make a one-inch slit on a layer of fabric of the muzzle for turning inside out.
- Turn pieces inside out and hand stitch to close the opening with a slip stitch or ladder stitch.
Press with a warm iron to smooth out the pieces if needed.
- Sew Llama's face by, first, mark the nose and mouth patterns on the muzzle then embroider them.

Mark the position of the eyes and ears patterns on the pouch that doesn’t have a pocket on it. You may mark by eyeballing position, trace the shape with an erasable fabric marker.
Sew around with matching color thread.
Mark the position of the muzzle and eyes on the pouch. Sew around the muzzle with a matching color thread. Use the printout to gauge the position of the muzzle on the pouch.
Sew on the button eyes.
The completed front and back piece of the Llama pouch before sewing up.
- Place both front and back pouch pieces together with inside together. Sew them together with a slip stitch, from marking to marking on both left and right sides to complete the LaLa Llama pouch.

- Add a key chain to the Llama pouch to make it into a key pouch. Insert the chain or cord through the top opening of the pouch, slip the key ring through the chain or cord to make up the keychain.
The chain I showed here is about 1.5″ long, but later I found that 2″ long will be easier to put your keys into the keyring.

Notes
Seam Allowance: 1/4″ on fabrics only, 3/4″ for the top edge of an open pocket, 1/8″ for batting. Sew before trimming to the desired seam allowance.
I used Japanese Yarn Dyed fabric to sew this Llama key pouch.
Recommended Products
Purchase the exact same material and tool used in this pattern from Craft Passion Shop.


