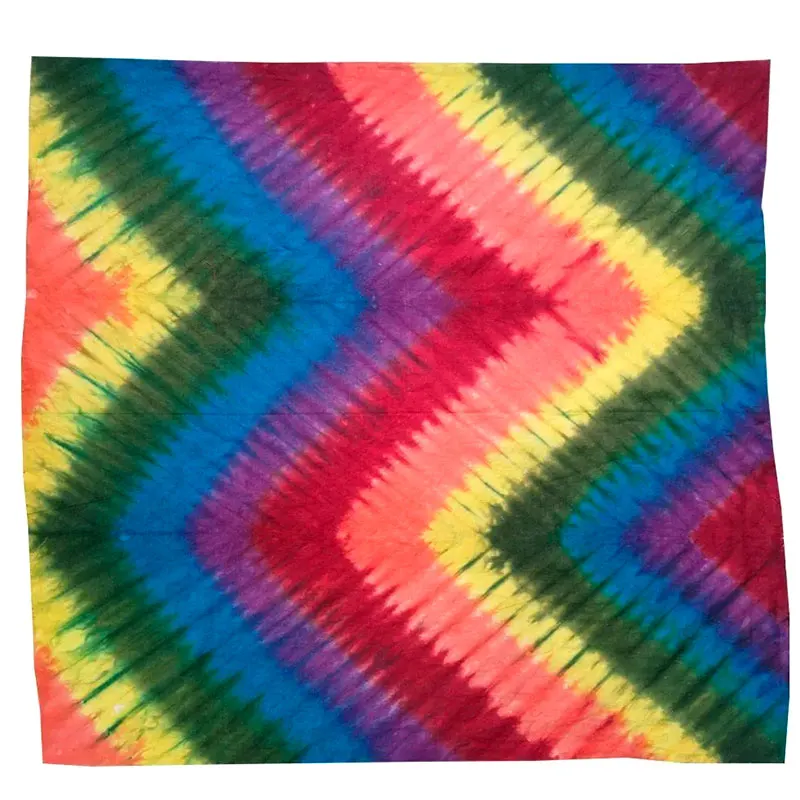
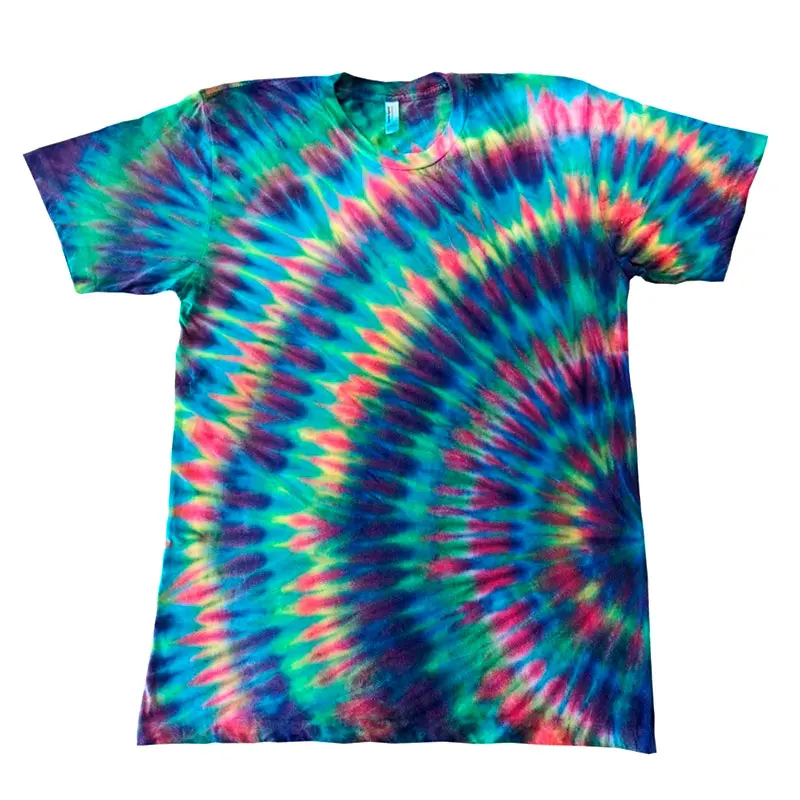
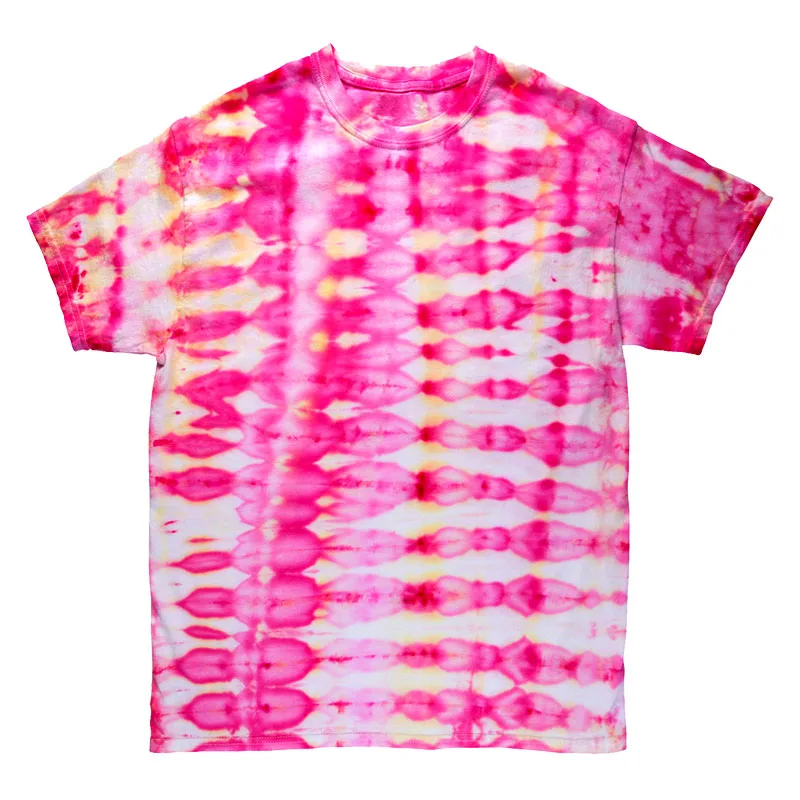
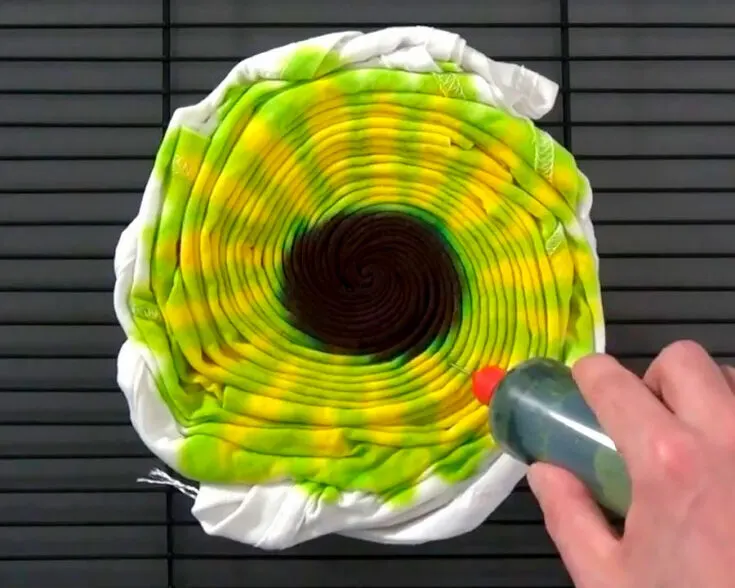
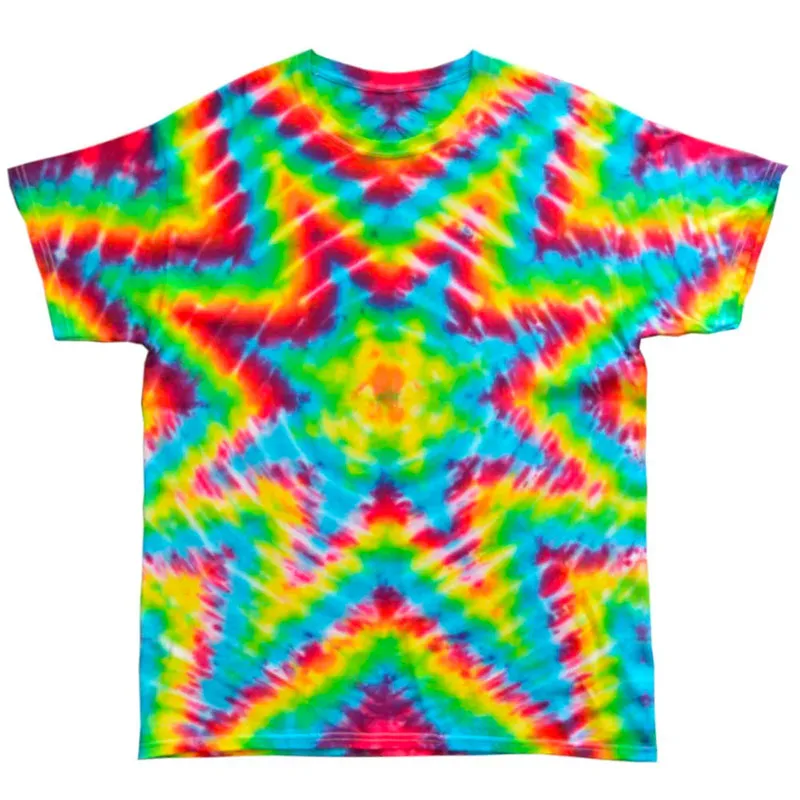
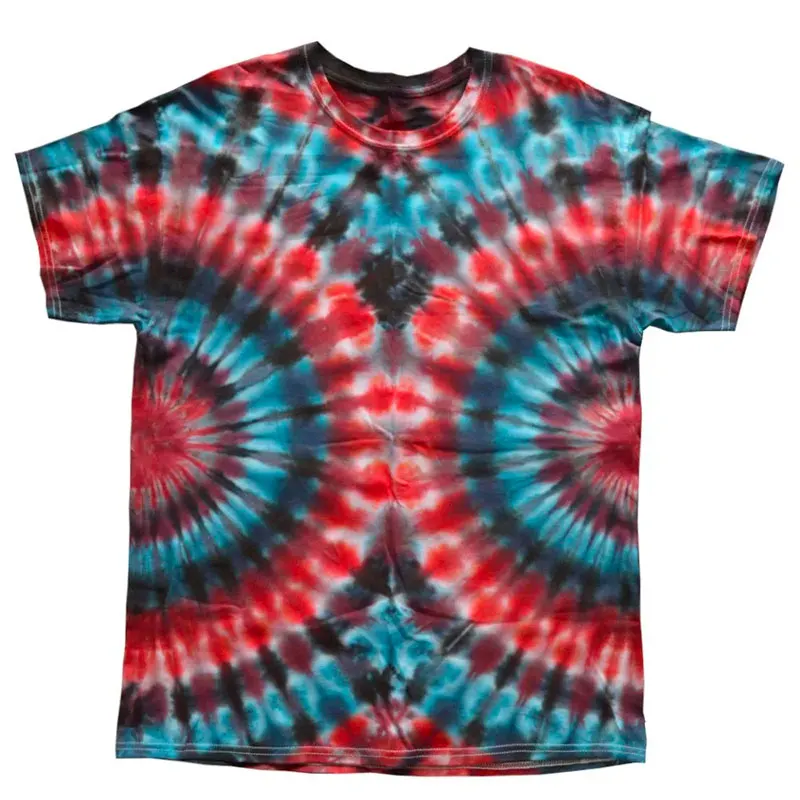
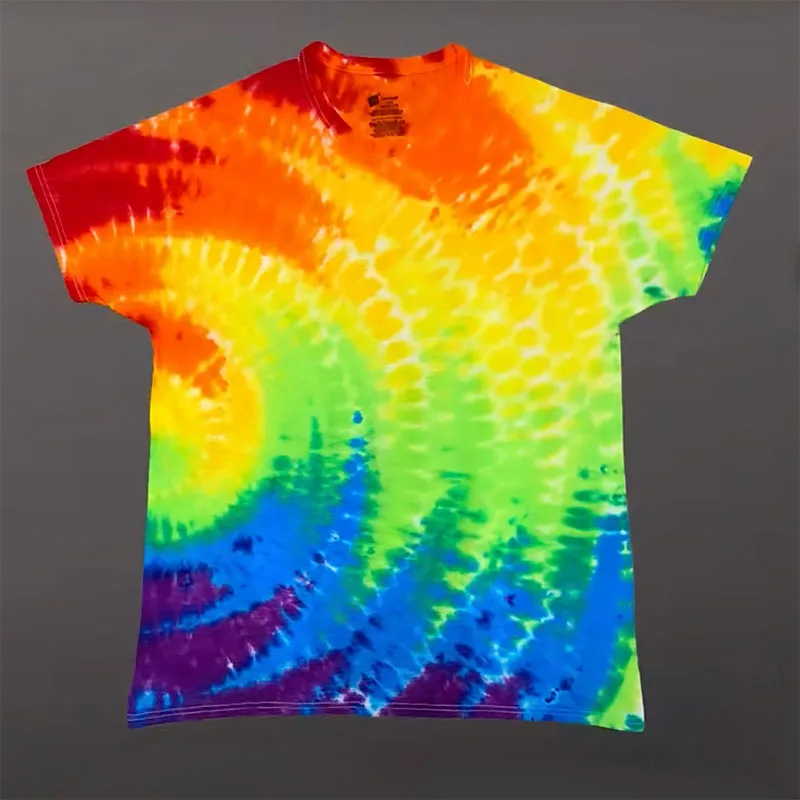
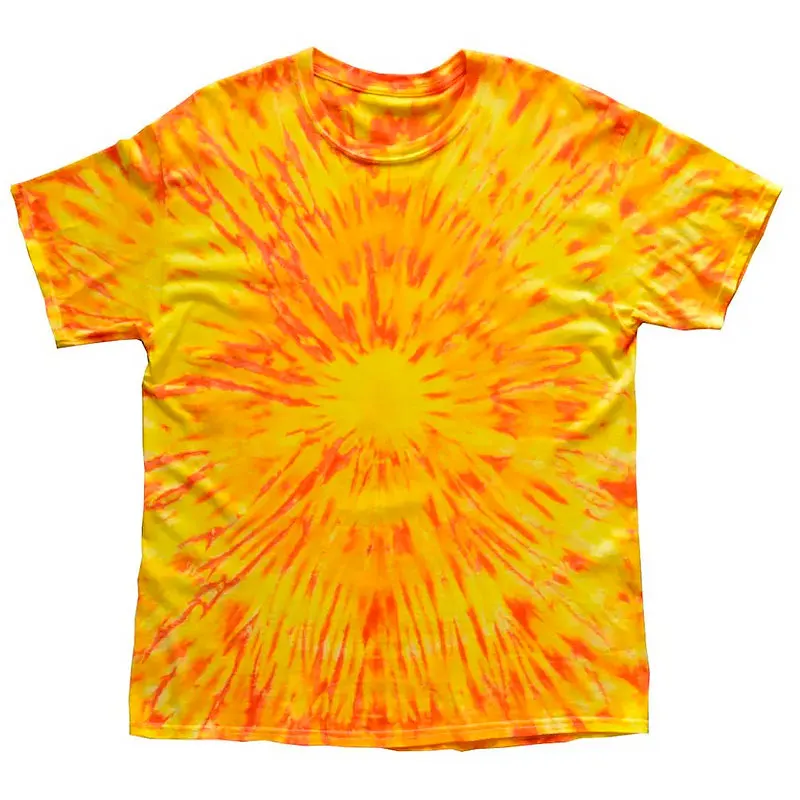
Looking for a cool and creative way to spice up your wardrobe? Tie-dying is a great place to start! There’s something inherently satisfying about seeing those vivid colors swirl and blend on a basic white t-shirt. Tie-dying is a great activity, as there are both challenging and easy tie dye patterns for adults and children alike! It keeps you entertained, and you get a lovely product to wear in the end.
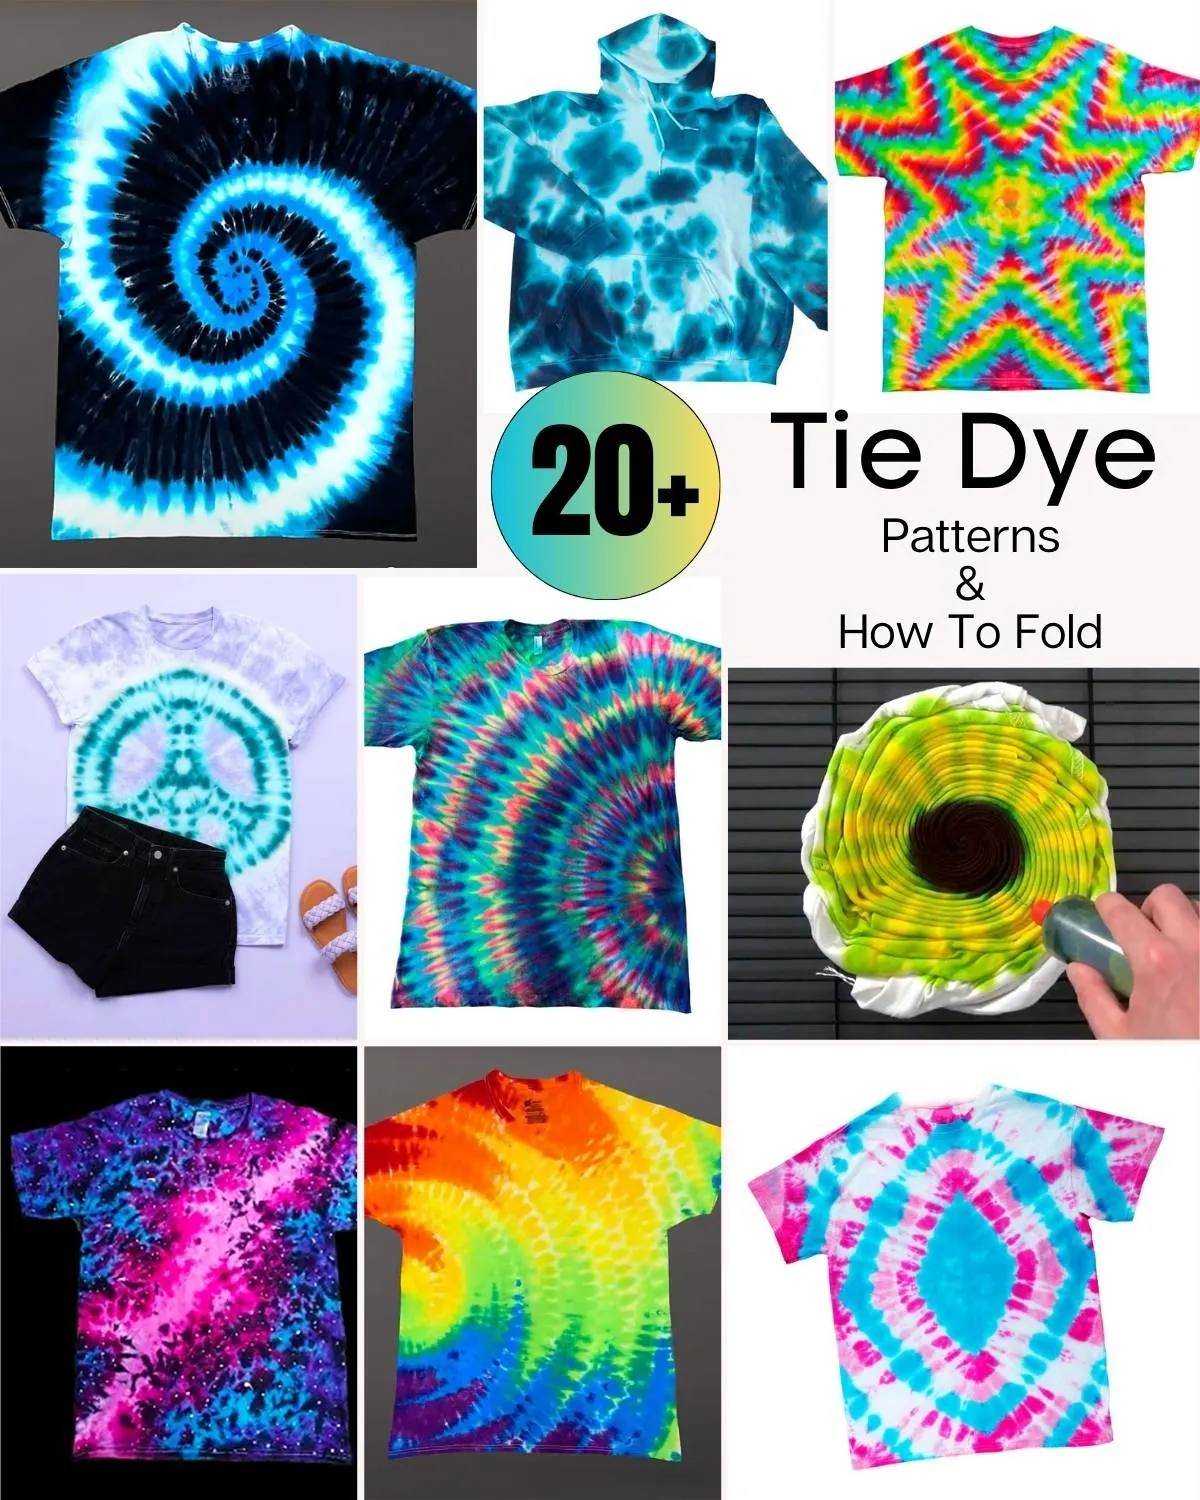
Let’s learn how to tie dye and make some lovely and one-of-a-kind tie dye patterns. This curated list will include step-by-step tie-dye patterns as well as some folding techniques. Expect some advanced tie dye patterns as well as some classic but cool tie dye patterns.
What are you waiting for? Keep scrolling for fun tie dye patterns to keep you busy!
What Is Tie Dye?
Tie-dye is a popular resist-dyeing technique that results in vibrant, bold, and brilliant patterns. The term “tie-dye” refers to the technique of tying or binding sections of fabric before dying them with vibrant colors. It’s an old but fun do-it-yourself (DIY) craft that anyone can enjoy.
How to Tie Dye?
Tie-dye is easier than it seems. Although all the tutorials in the list will include instructions on how to prep your shirt to achieve the desired pattern specifically, here are some of the general instructions.
- Prep your materials by washing the fabric with laundry detergent. This is to get rid of the dust, dirt, and oils that might resist the dye, leading to undesirable results.
- Set up your workspace by laying out a plastic cover on your table to protect the surface you are going to be working on. Accidents do happen, so you always want to be cautious. Wearing gloves is a smart move to avoid staining your skin.
- Fold or crumple your shirt or fabric, which is still damp after washing.
- Secure it with rubber bands or strings.
- Squirt liquid dye onto the fabric using squirt or squeeze bottles. Alternatively, apply a single color onto the shirt or fabric by dipping them into buckets of dye.
- Let it sit according to the amount of time stated in the tutorial.
- Wash, then rinse your fabric and soak it in soda ash for 20 minutes.
Types of Tie Dye
1. Traditional Tie Dye
The first style of tie-dye is the most popular and is distinguished by vivid colors and striking patterns. The 1960s and 1970s saw the rise of this technique, which is still largely used today. A plain white shirt is used for this style of tie-dye, which is subsequently tied and colored with one or more liquid dyes. Most of the best tie dye patterns are made using this style of tie dye.
2. Ice Dye
Ice dying is a technique that is only somewhat distinct from standard tie-dying. The same white or light-colored garment is tied or fastened with rubber bands. The clothing is then doused in ice cubes and colored powdered dye is sprinkled on it. The fabric will become saturated when the dye powders dissolve as the ice melts.
You can learn more about ice dying in this tutorial on ice dye.
3. Tie Dye with Bleach
In the past year or two, bleach tie dye patterns, also known as reverse tie dye patterns, have skyrocketed in popularity. A black or dark-colored shirt is used for this method of tie-dying. It is different from the previous two methods as this shirt is tied and brightened with bleach. The tie-dye pattern is produced by the bleach, which lightens the color of the exposed fabric.
You can learn more about tie dye with bleach in this tutorial on it.
Tie Dye Supplies
Every tutorial will have a slight variation in the supplies required to achieve the desired pattern. However, they won’t differ much. This list includes the general supplies required for most tie dye patterns.
- Fabric dye in the colors you want
- fabric that you want to create your tie dye pattern on
- soda ash (optional depending on the type of dye you purchase) (Use 1 cup per gallon of water.)
- Laundry detergent
- rubber bands or strong strings
- buckets, to dip the fabric in the dye
- squeeze bottles to apply dye
- plastic tablecloths or newspaper to protect your work surface
- hand gloves and a mask
Supplies such as rubber bands or squeeze bottles can always be reused from previous tie dye pattern occasions. Wash them thoroughly to remove all traces of previous dye, and you’re good to go!
FAQ
1. What are the folds and ties for?
The folds of the fabric and the ties securing them act as a resistance to the dye. It prevents the dye from staining those areas, leaving them white (or whatever the original color of the fabric was) and creating different patterns.
Because of that, the way you fold and tie your fabric is important! As it determines the pattern that is going to form on your fabric. You can create many different designs by folding and tying your fabric differently.
2. What is the best dye to use for tie dye patterns?
The best dye to use would be fiber-reactive dye. It works amazingly on cotton fabrics, with great results that are long-lasting, saturated, more vibrant, and much easier to use.
You won’t have to worry about your dye washing off the first time you wash it, as this type of dye reacts with cold water and becomes permanent on your fabric.
When crafting with kids, it is recommended to use a non-toxic tie-dye kit. Need more information on the best tie dye kits and supplies to use? Check out this post that explains it perfectly.
3. What is the best fabric for tie dye?
Natural fibers like cotton and rayon are the most recommended. This is because natural fibers absorb and soak up the dye better than synthetic fibers. If you are using the traditional tie-dye method, then remember to use white shirts and fabrics to achieve the most vibrant results.
4. Why soak tie dyed fabrics in soda ash?
Soda ash aids in the dye’s adhesion when tie dyeing. Offering an alkaline pH of 10.5 to 11 it allows the dye molecules to bind firmly with the fabric molecules.
5. Is tie-dye toxic?
No tie-dye is generally considered to be safe and non-toxic. The most it will do is stain your clothing, hands, and surfaces if you do not wear protective clothing and cover up your workspace. However, it is important to buy dyes from reputable or dependable brands and websites to ensure you get what you pay for.
6. How can I prevent the dye from bleeding or fading over time?
After the dye has dried, properly rinse your tie-dye project with cold water to help avoid bleeding or fading. To help the color set, you can also add a cup of white vinegar to the rinse water. As the dye may transfer to other materials while washing your tie-dyed item with other clothes, avoid doing so.
Make sure the washing machine is set to use cold water, and hang it to dry rather than using the dryer to help extend the life of your tie-dye masterpiece. Avoid leaving your tie-dye project out in the sun for a long time because this can make the colors fade.
For more information on how to preserve your tie dye shirt patterns, check out this article on 5 Easy Steps to Wash Your Tie-Dye Shirt.
7. Can you use food coloring or other natural dyes for tie-dye projects?
Yes, most certainly! There is nothing wrong with using food coloring or natural dyes like beet juice, turmeric, or mangosteen staining. However, these dyes will not produce as vibrant or saturated colors as synthetic dyes will. Natural dyes may not be resistant to washing or sunlight and may fade very quickly over time.
What’s Next:
- Pick your tie dye pattern, gather the supplies, and start tie-dying!
- Share your outcomes on Facebook and/or Instagram. Remember to tag us @craftpassion so that we can see them.
- Pin it to Pinterest for a future To-Do List.
- Browse more kid crafts to make or some painting crafts and upcycled crafts as well.
How To Tie Dye These 25 Unique Patterns
There are various tie-dye patterns and folding techniques that you can attempt by yourself, with your kid, or with a friend. In this list, there are many patterns and folding techniques ranging from beginner to intermediate to advanced.
Be creative and challenge yourself! And most importantly, have a great time tie-dying your fabrics.
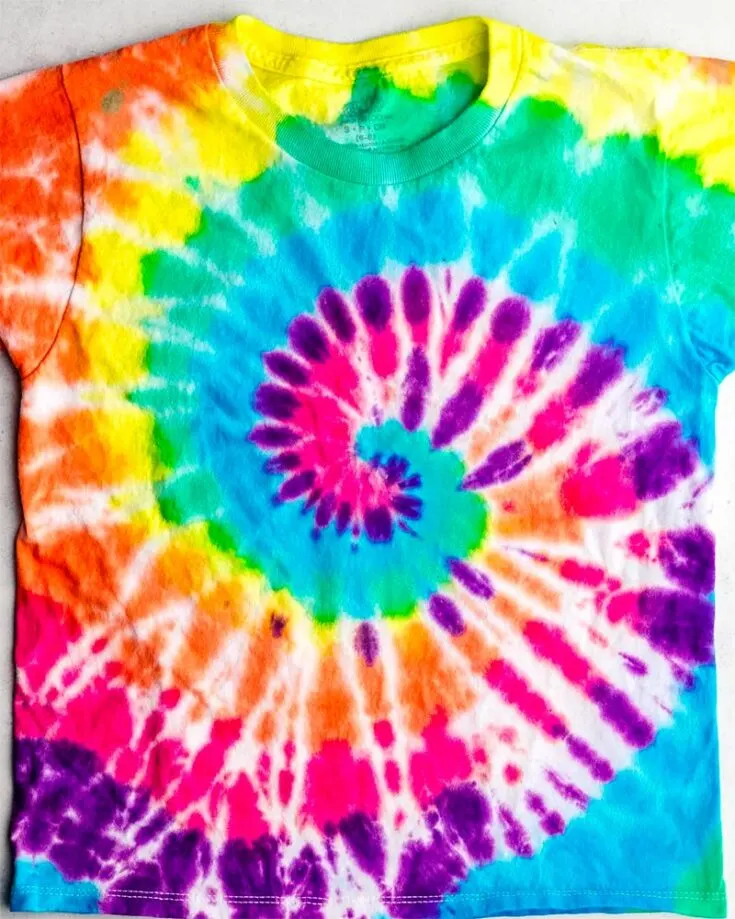
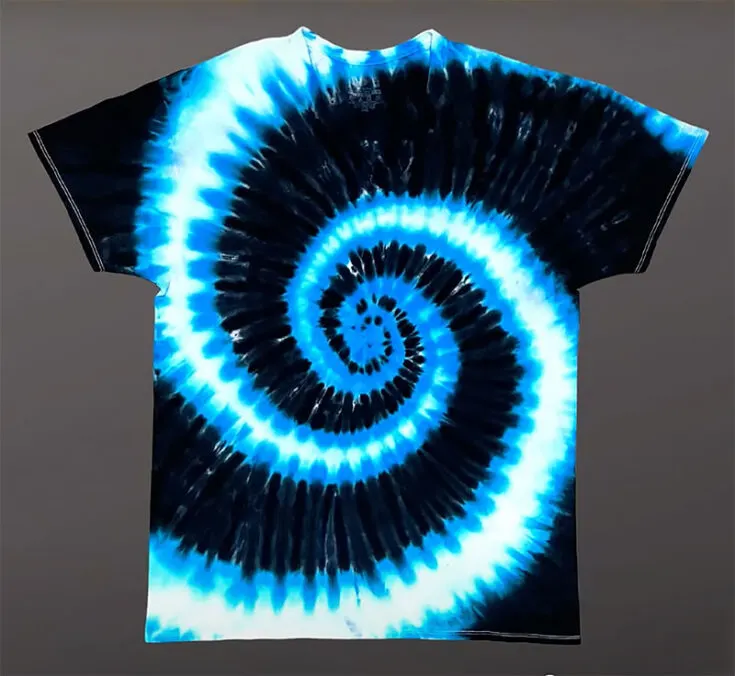
How to Tie Dye a Spiral Pattern
The spiral is a classic tie dye pattern. It is a vibrant spiral design that radiates outwards from the center in a diagonal fashion.
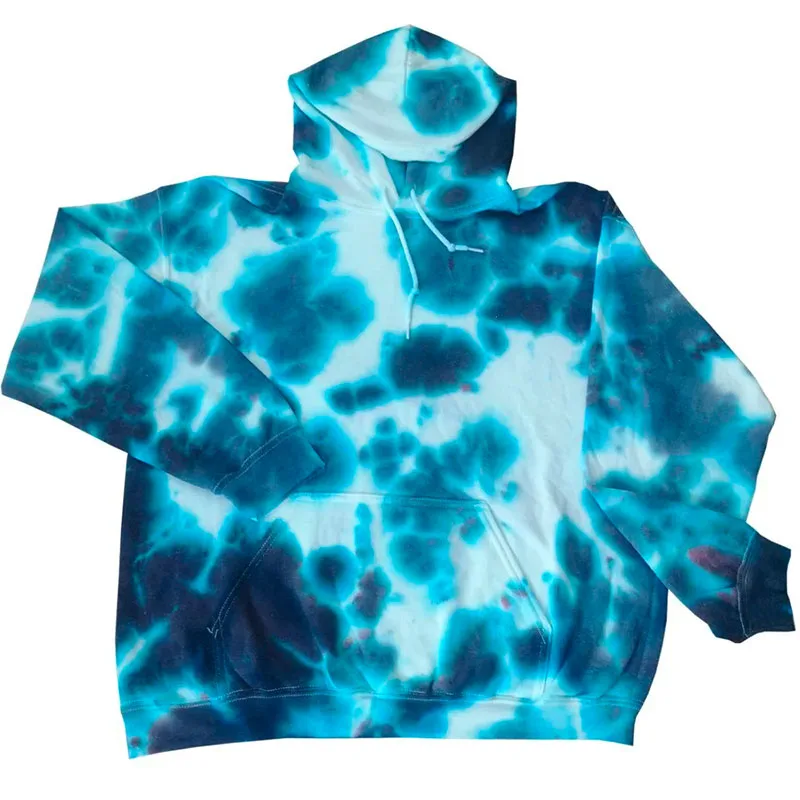
Tie-dye pattern: Heavy Crumple
Crumple is arguably the easiest tie dying pattern and folding technique. It is also known as a “scrunch” or “nebula” design. The beauty of this is that the pattern is random and abstract. You never know what you'll get!
How-to Tie Dye a Bullseye Pattern
The bullseye tie dye technique features a circle with concentric circles of color radiating from the center. It forms a bullseye or target, hence the name.
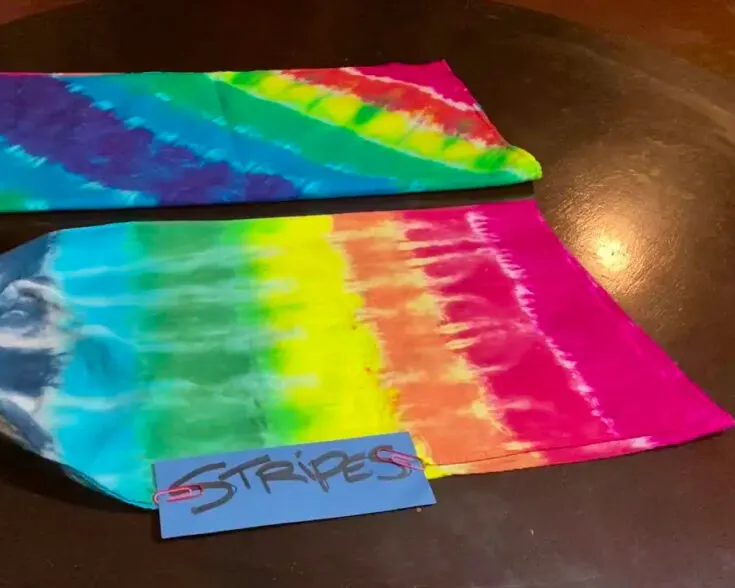
Stripes Tie Dye Tie Instructions
Striped tie-dye patterns can be horizontal, vertical, or diagonal, depending on how you fold and tie them. They can be created in any combination of colors, from dark to light, rainbow, or pastel.
Tie-dye pattern: Wedge
The wedge is a tie dye design that may look complicated, but it's actually categorized as beginner-friendly. What are you waiting for? Give it a go today!
How-to Tie Dye a Heart Pattern
The heart shape is a cool tie dye pattern that is popular among children and couples! It's a fun design that allows you to express your love and affection to whoever it is made for.
Tie-dye pattern : Zig zag
The zig-zag is also a beginner-friendly tie-dye pattern. It creates colors that align in the shape of 'Z' all the way across the shirt.
Tie-dye pattern: Fan Fold
A fan fold is another classic tie dye pattern. There are many variations of it, such as the top fan fold and the side fan fold.
How to Tie Dye: Universe
One of the 2016 classics would be the Galaxy/Universe tie dye pattern. It's not hard, as it utilizes the crumple technique to achieve a starry night effect.
Accordion Tie-Dye Technique
The Accordion is a tie dye pattern that most of you may have seen before. It creates these somewhat symmetrical patterns across the shirt that look like the patterns of an accordion.
Tie-dye pattern: Sunflower
A sunflower tie dye pattern is as its name suggests. It has a circular center with colors radiating outwards like petals.
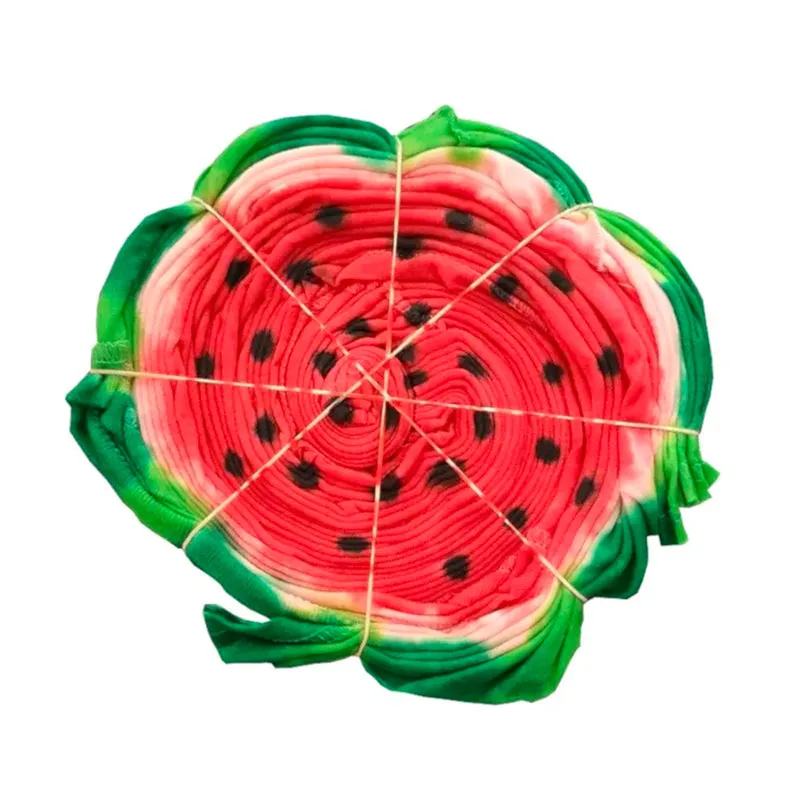
Tie-dye pattern: Watermelon
Not into flowers? Maybe this watermelon tie dye pattern is for you! A tiny squeeze bottle is used to add on seeds, making it look all the more realistic.
Ombre Tie-Dye Technique
Do you love that smooth, continuous gradient of colors? Then you will love this ombre technique that uses dye, water, and a paintbrush.
How-To Make a Tie Dye Skull Shirt
Learn how to tie dye this skull pattern in this video tutorial. Make it for fun to challenge yourself, or make it as an upcoming simple Halloween-themed top!
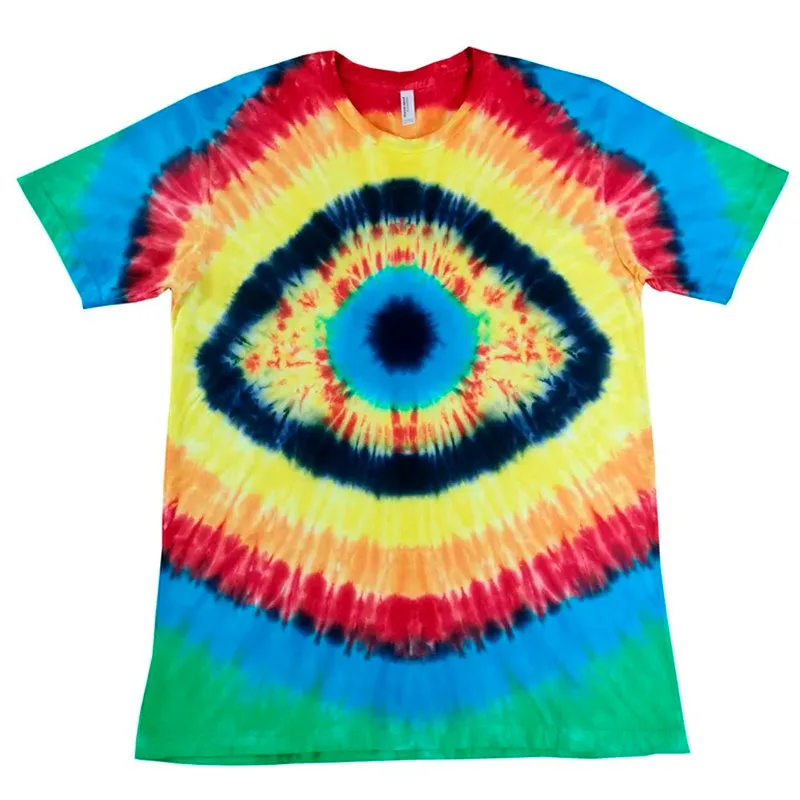
Tie-dye pattern: Eyeball
This eyeball tie dye pattern features an 'eye-catching' design that will be 'seeing' your every move!
Tie-dye pattern : Lightning Swirl (Super Spiral)
This pattern can be a little challenging as scissors and tweezers were used to achieve a tight crease. The generous amount of dye used resulted in a beautiful, striking color.
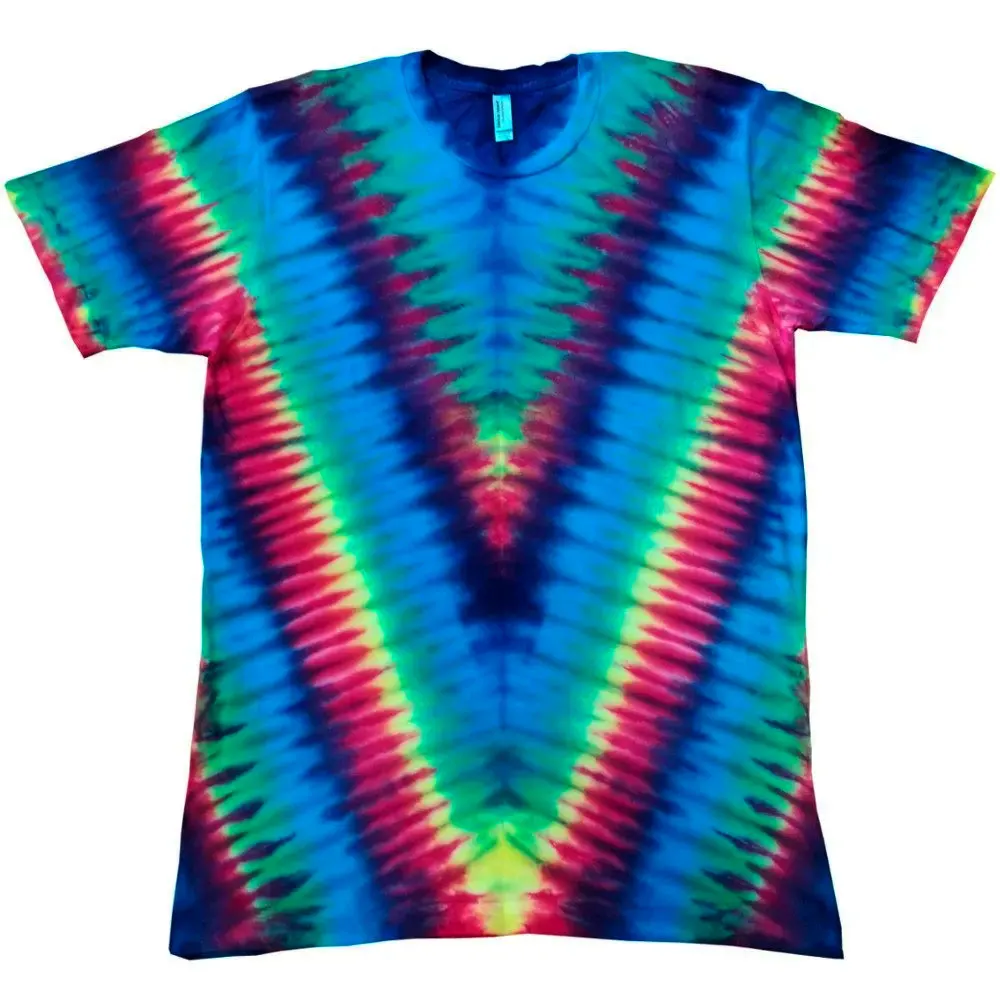
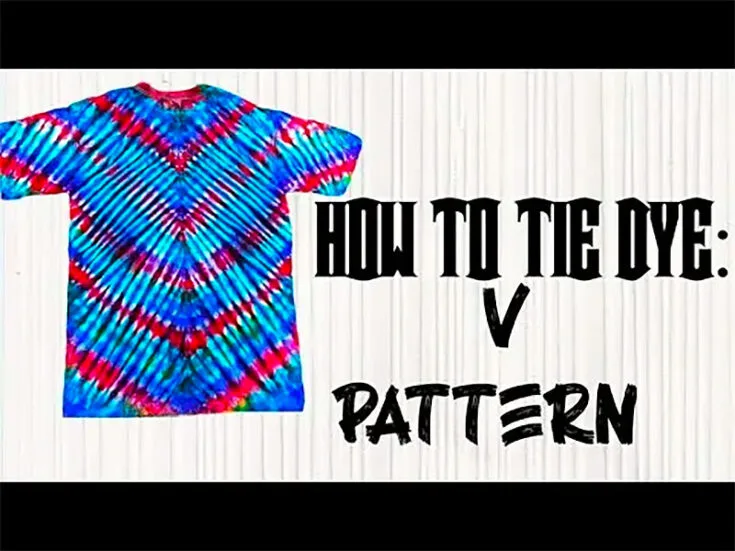
How-To Tie Dye a Chevron Pattern
The Chevron or V tie dye pattern can be distinguished using various colors to create a bold graphic look.
Tie-dye pattern: Star Mandala
This unique tie dye pattern will blow you away as you unravel the fabric. It looks like a kaleidoscopic pattern found in a kaleidoscope.
Tie-dye pattern: Double Peacock
This peacock tie dye design will feature a pattern that looks like the stunning colors of a peacock's tail. You can choose any color you like or stick with the typical blue, green, and yellow of a peacock.
Tie-dye pattern : Rainbow Ripple
This rainbow ripple produces a gorgeous rainbow-colored ripple effect on your tie dye shirt. It does take effort and time though, to make sure the folding technique is precise to produce such results.
Tie-dye pattern: Sunny Day
Do you come from a tropical country like I do? Then this sun rays inspired tie dye pattern will be highly evocative of home for you!
Tie-dye pattern: Geode
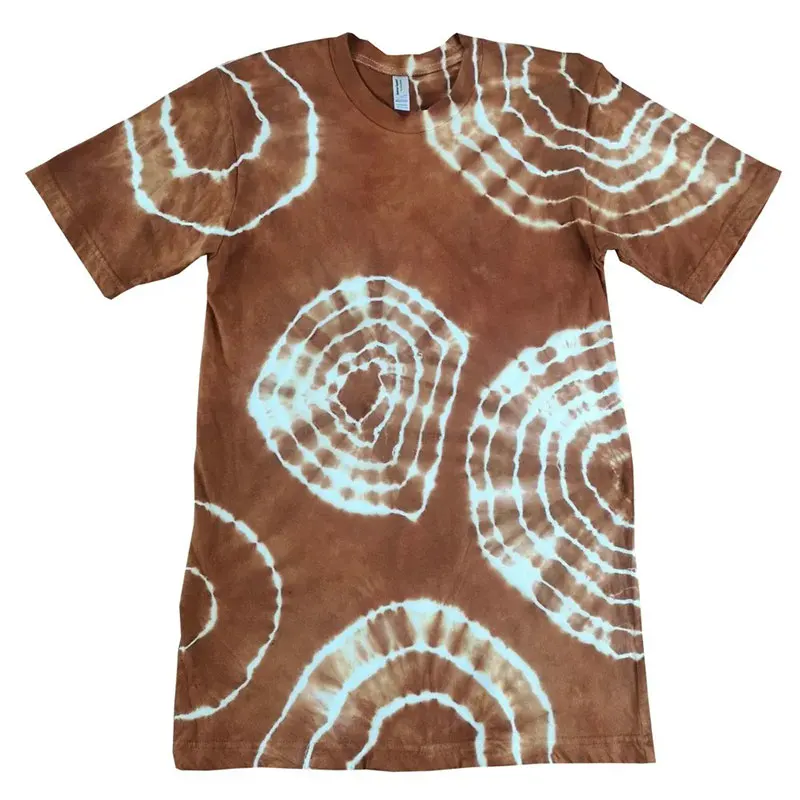
Are you a fan of muted, subdued colors or simple designs? Don't think tie dye isn't for you because we have designs such as these geode-inspired circles. 'Simply' beautiful!
Peace Sign Tie-Dye Technique
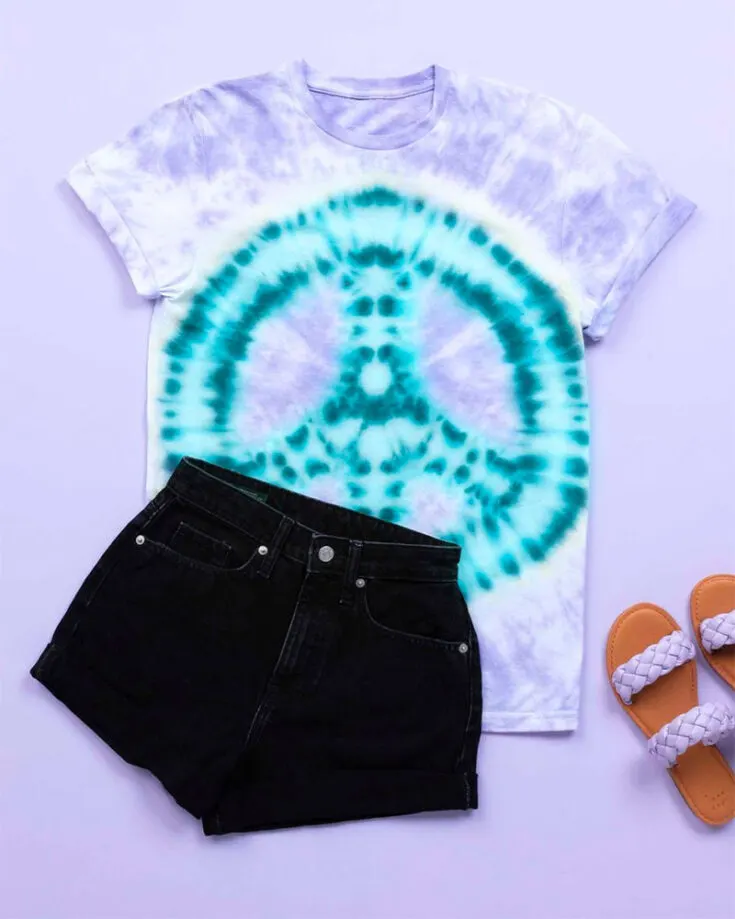
Let your tie-dye creations be a symbol of peace and harmony! Create this positive sign of peace and spread the message by wearing it.
Diamond Tie-Dye Technique
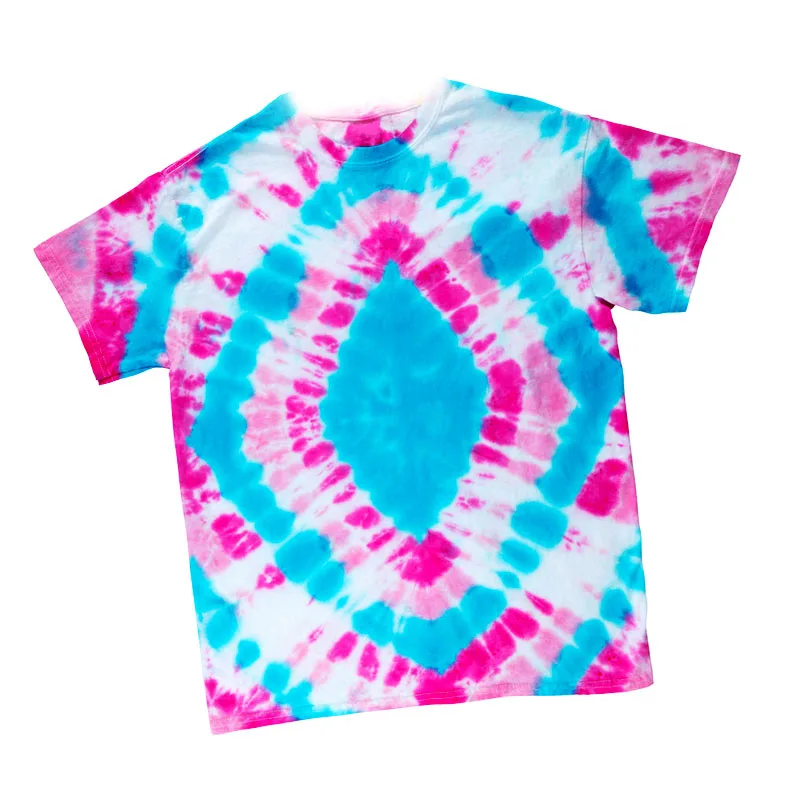
This is a beautiful tie-dye pattern that features a diamond and colors radiating outwards from it. Pick and choose your own colors to create your very own diamond tie-dye.
Tie-dye pattern: Bright corners
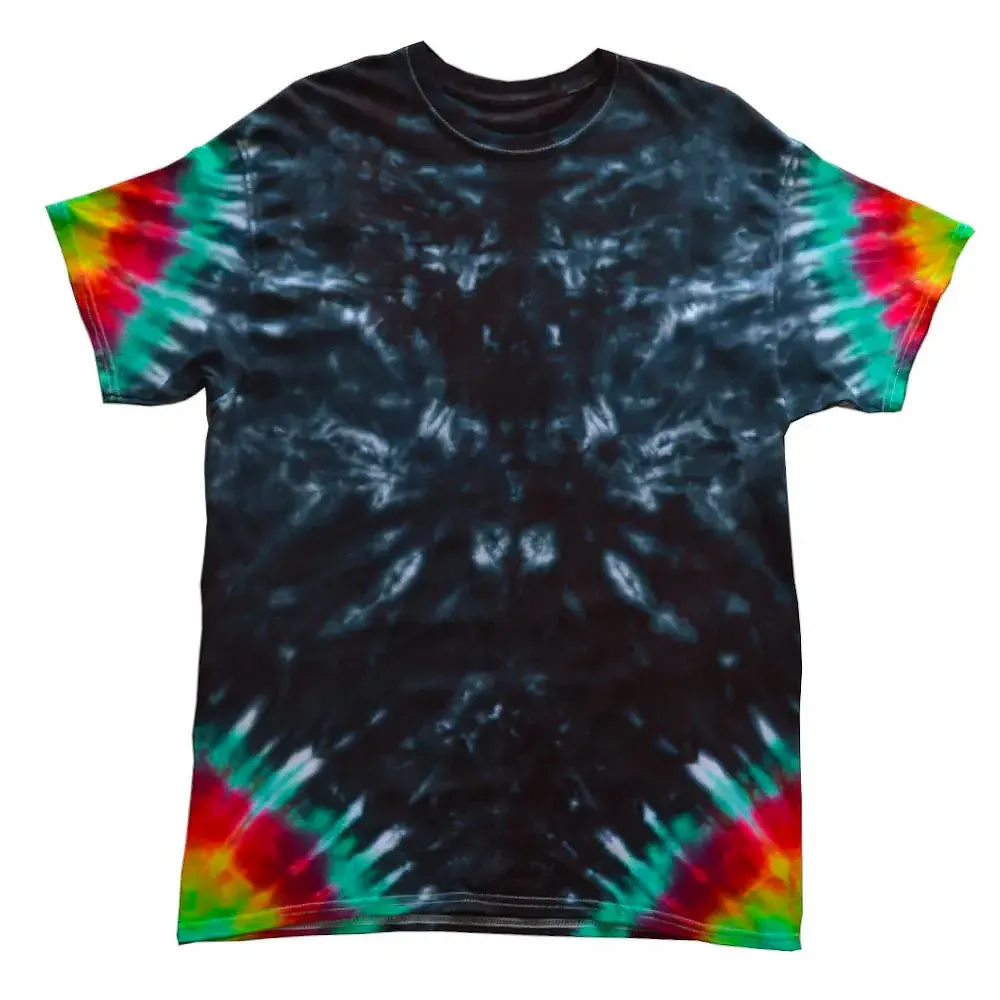
If you're looking for just that small burst of colors, this bright corners tie dye pattern is for you. It features bright colors only at the corners of the sleeves, making it more simple and put together.

