Time flies, December is here and I am nearly running out of time for handmade gifts for Christmas, phew!!! These DIY Cork Coasters set has saved me from misery as I just need to make another gift and I am good to go for my holiday.
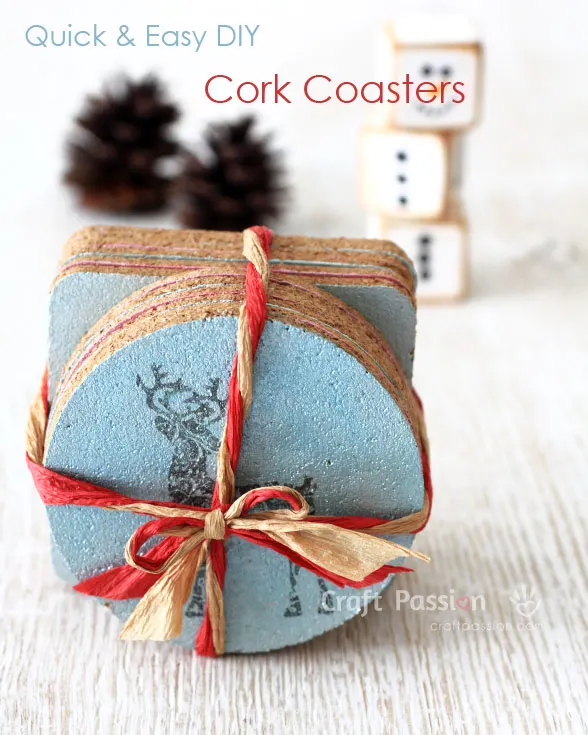
Early this week, I was panicked as I watched the clock ticking while rushing another handmade gift. I need to find something that’s quick and easy to make, of course, it needs to be presentable too.
I recalled that I have some cork coasters in the cabinet while I did some housekeeping on my craft materials and they will be great for DIY. Thus, I took out some acrylic paints, rubber stamps, and permanent ink to work on the coasters. A few hours later, a set of quick and easy holiday theme DIY Cork Coasters are ready to be packed as a gift for my sister.
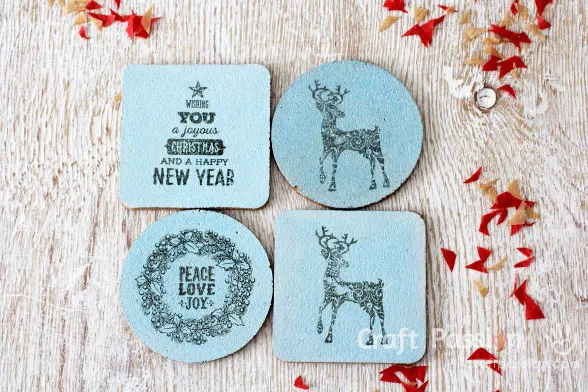
My sister is going to have a Christmas Eve party at her home this year and these handmade coasters set will be handy for her. Foremost, she needs additional coasters for her guests during the party. Preferably that each of the coasters in the set is different so that the guests are able to identify which glass of drinks she/he has drunk, just in case someone mix-up the glasses.
In order to make each of these cork coasters unique, play around with the shapes of the coasters, colors of the paint and images of the stamps. This is the beauty of DIY, you are able to customize them to the way you like.
I made twelve different coasters by using two types of shapes (six circles and six square), two base colors (blue and pink), and three rubber stamps designs. If you need more coasters, just add in another color or rubber stamp design.

Simply stack up the beautiful DIY coasters, tie with raffia and these personalized coasters are good to be given away. I am done with all the gifts, YAY!!!
Besides these cork coasters and the sock reindeer doll (tutorial here), I have spent a good amount of time sewing up lots of mini macaron coin purses (tutorial here), some bigger macaron purses as earphone cases (tutorial to follow soon) for teenagers, some easy leather card pouches for male friends (tutorial to follow soon), again, all the gifts are customized so all the gifts are non-identical.
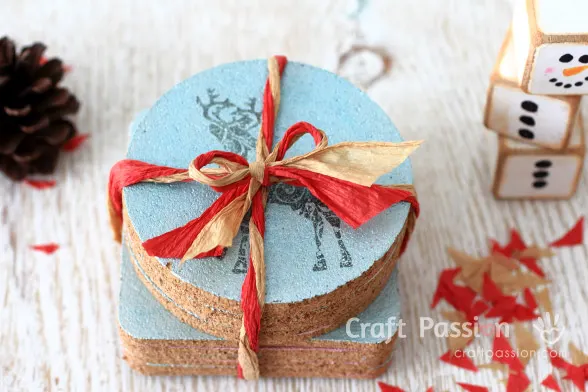
I am off on my holiday, will be back soon for more tutorials. Wish you all a Merry Christmas and hope you have a joyful one too.
DIY Cork Coasters
In order to make each of these cork coasters unique, play around with the shapes of the coasters, colors of the paint, and images of the stamps. This is the beauty of DIY, you are able to customize them to the way you like.
I made twelve cork coasters by using two types of shapes (six circles and six square), two base colors (blue and pink), and three rubber stamps designs. If you need more coasters, just add in another color or rubber stamp design.
Enjoy making them!
Materials
- Cork Coasters, round and square
- Acrylic Pearl Paint, Martha Stewart Crafts, Jet Stream & Aquarium
Tools
- Sponge brushes
- Paint palette tray
- Stazon, Multi-Surface Inkpad, Stone Gray
- Your choice of rubber stamps
Instructions
MORE DETAILS ON HOW TO MAKE
DIY CORK COASTERS
- Gather and get ready all the materials and tools needed as mentioned in the list above.

- Paint one side of the cork coasters with Martha Stewart Acrylic Pearl Paint, Jet Stream color. A few thin layers of paint is always better than a single thick layer.
Leave it dry while you paint the rest of the coasters.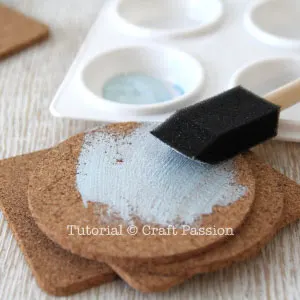
- Repeat another layer or two of Jet Stream paint to have better coverage. Leave it aside until you are able to touch and feel that it is dry.

- Brush a thin layer of Martha Stewart Acrylic Pearl Paint, Aquarium color, which is slightly darker than Jet Stream. The paint does not have to be even, uneven shades will give more character to your coasters.
Leave it aside to dry for 30 minutes. While waiting, clean up all the paintbrushes and tray.
- Stamp on your choice of rubber stamps design onto the coasters with Stazon multi-surface ink. I used Holiday theme rubber stamps, these stamps came with the craft magazines. You may adapt this method for other occasions by using a different theme.
Leave the coasters to dry overnight before using them to serve drinks.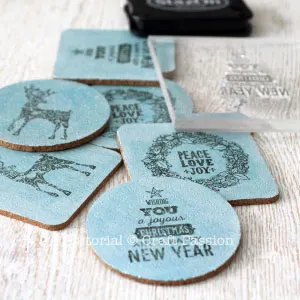
Voila…. these cork coasters with a special touch from your crafty hands are now ready to serve drinks. I have tested the coaster by leaving a few drops of water on it and leave it overnight. The coaster is fine one the next morning, with no peeling of paint and no smearing of the stamped image.

