Hello November! It has been a while since I’ve posted something for you to craft. So today, I’m back with a sewing project on an envelope pillowcase! I’ve got a fairly good reason for my absence. As December is approaching, I’ve been diligently working on festive craft patterns for Christmas! Do stay tuned for that in future posts.
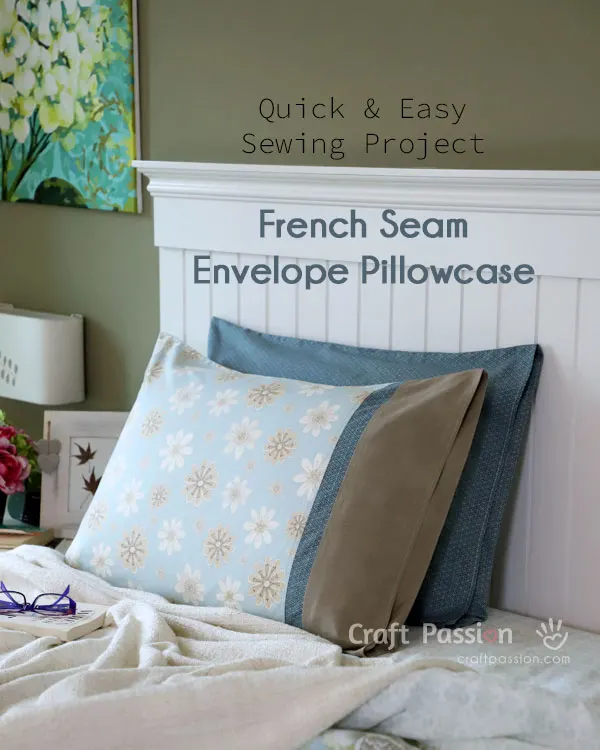
Now back to the topic of the day: Envelope Pillowcase with French Seam!
Pillowcases were one of my first few sewing projects when I was younger. I actually learned this technique from my mom when I was around ten years old, and I found it very easy to sew. This beginner-level project is not only simple to start with, but it also requires minimum time to complete. If you have a short 30 minutes out of your busy schedule, or if you just want something easy to wind down your day with, scroll down to see the free tutorial and pattern! Or, watch a short video below to learn to sew an Envelope Pillowcase With French Seam in less than 10 minutes.

How To Sew
Envelope Pillowcase With French Seam
scroll ⬇️ to get the free sewing pattern & tutorial
If you are a newbie in sewing and wish to decide which model of sewing machine for beginners suits you, click the link to read on.
Closure Finish: Envelope Style
While the traditional pillowcases have an open end that exposes one side of the pillow, pillowcases with an envelope closure at the end are made to be properly inserted into the pillow for a tidier outlook. The envelope flap allows the pillow to be tucked in and prevents it from sliding out when you sleep.
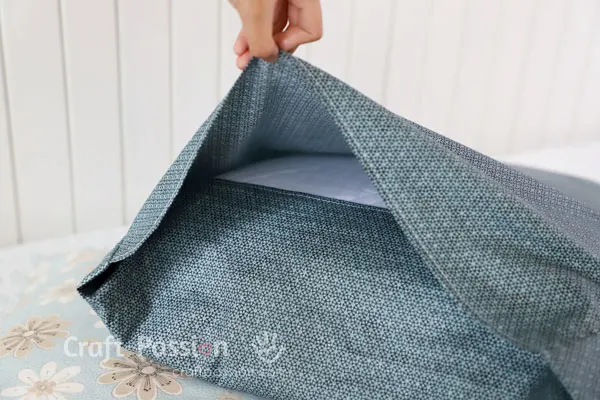
Here is a better look at the overlapped pillowcase with my Origin Superior Coolmax® Latex Pillow. The envelope flap wraps around the pillow perfectly so that it wouldn’t slip out whenever you use it.

As you can see above, the flap of my pillowcase is measured at 6”, but you can make it into a deeper flap at 9” by simply adding some length to the long side of the fabric cut-out accordingly. The materials and tools I used include; 1 yard (36″) of fabric with 44″ width for a standard pillow, quilter’s ruler, cutting mat roller cutter, sewing machine, threads, pins, and iron. However, if you don’t have those fancy tools, worry not. You can just use a pencil and ruler to draw the lines, and scissors to cut out the fabrics instead.
Seam Finish: French Seam
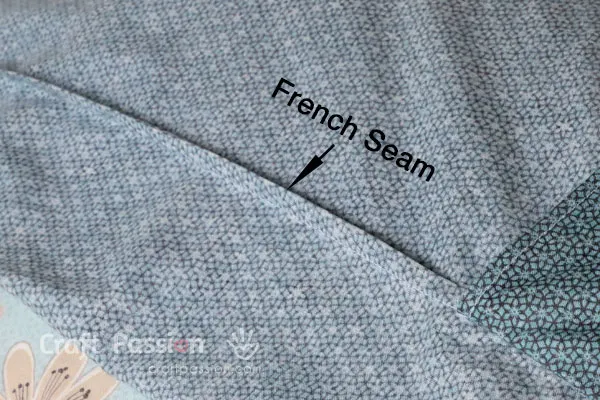
Ooh la la, doesn’t French seam sound like a fancy word? It is a method for hiding and wrapping rough visible edges into the seam allowance for a neat finish. The end product provides a clean and professional look. No serger is needed to overlock the raw edges.

As an accompaniment, the envelope closure further tucks the already-neat seam finish away from the opening. Love these combinations to the bit!
Fabric Amount Vs Size Of Pillow
If you’re planning on making this pillowcase with flap for other pillow sizes, just follow the below measurements of fabric requirement:-
Standard Pillow: 1 yard
Queen Pillow: 1 1/4 yards
King Pillow: 1 1/2 yards
Body Pillow: 2 yards
Note: The width of the fabric must be at lest 44″ wide.
Try This On Your Next Sewing Project
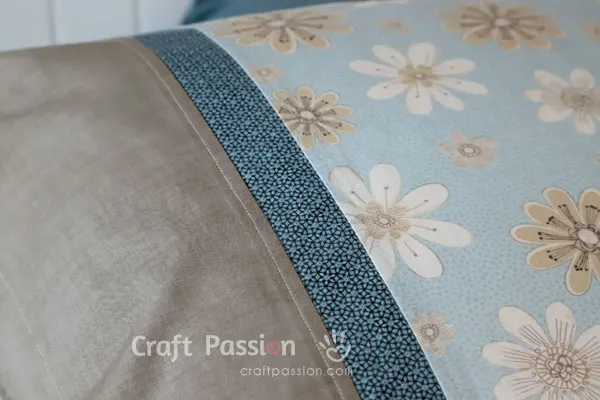
Get creative and increase the level of difficulty of your next envelope pillowcases by adding different fabrics for a distinct design. All you need to do is use a “flat felled seam” to join the strips of fabric. Flat Felled Seam is very similar to the French seam, it hides and wraps the raw edges at the seam allowance.

Apart from this envelope pillowcase tutorial, do check out my quilt patterns and decorative pillow patterns below. Make bedding set for yourself, your child, or other family members! I’m sure your family will be ecstatic to have something they use daily handmade by you.

Don’t forget to share your crafts with me on Facebook or Instagram. Happy Sewing!
- Modern Hexagon Flower Quilt Duvet
- Secret Garden Quilt Pattern
- Road Runner Quilt Pattern
- Quick Machine Sew Hexagon Flower Quilt Block
- Quick Fusible Applique Method
- Star Pillow Knitting Pattern
- Snowman Quilted Pillow Cover
- No-Sew Tea Towel Pillow
- Heart Chenille Valentine Pillow
- Safety Sign Triangle Pillow Sewing Pattern
- Piggy Pillow Sewing Pattern

Envelope Pillowcase With French Seam
Learn How to Sew an Envelope Pillowcase with French Seam in less than 10 minutes. Watch the video tutorial if you like to view how to sew it in action. Read the following instruction with pictures if you prefer to save it for the future.
Quick and Easy way to sew an Envelope Pillowcase that makes the pillow stay tuck and inside the pillowcase. Using the same method to sew 4 most commonly use pillow sizes, fabric cut-out sizes were given to make your sewing process faster without the hassle to measure and calculate.
With a french seam finish, the raw edges are wrapped and hidden in the seam allowance. It is neat and looks professional without the need for a serger.
Materials
Cotton fabric of 44" width
- Standard Pillow, 1 yard
- Queen Pillow, 1 1/4 yards
- King Pillow, 1 1/2 yards
- Body Pillow, 2 yards
Tools
- Sewing machine
- Thread and Pins
- Quilter's cutting tools or seamstress's cutting tools
Instructions
- For a standard pillow size, cut your fabric to 42" wide & 36" long, 36" is along the selvage of the fabric. At the side of 42", make a straight cut of 6 1/2" long at the middle of the width, then cut out a 21" wide (half the width) x 6" long rectangle, scrap it. Now, your fabric should look like half of the fabric width is 6" longer than the other half, and, with an extra 1/2" snip in between them (5-Fig), that's for hemming purpose. This extra 6" length is the flap of the envelope Refer to 1-Fig to Fig-4 below for the cut-out shape and measurements for different sizes of pillows.
- At both edges of the pillowcase and envelope flap, press over 1/4", turn the edge over 1/4" again, and press well. You may use a finger press method if you prefer to do the press without heating up an iron. (6-Fig)
- Stitch both hems on the 21" width. (7-Fig)
- Fold the pillowcase with the wrong side together and sew with 1/4" seam allowance. (8-Fig & 9-Fig)
- Trim the raw edges if it frays excessively and clip both corners to reduce the bulk when the pillowcase is turned right side in. (10-Fig & 11-Fig)
- Turn pillowcase right side in and press the seam open from the wrong side. Align the seam and press again. Fold the raw edges of the envelope flap along (1/4") and press well. (12- Fig & 13- Fig)
- Fold the envelope flap over, align and pin. Sew with 3/8" seam allowance. At the edges of the envelope flap, backstitching to enhance the strength of the stitches so that the thread won't snap off easily in the future. Sew a straight line along the middle of the seam allowance of the envelope flap to stitch the raw edge in place. (14-Fig & 15-Fig)
- Turn the pillowcase right side out, make sure the corners are turned nicely. Slip in your pillow and tuck it nicely in the envelope closure.
Cut-Out Diagram For Different Pillow Sizes
 1-Fig. Cut-out size for a "Standard Pillow".
 2-Fig. Cut-out size of a "Queen Pillow".
 3-Fig. Cut-out size of a "King Pillow".
 4-Fig. Cut-out size of a "Body Pillow".
Hemming
 5-Fig. There is a snip 1/2" at the intersection between the long and short pieces for hemming purposes.
 6-Fig. Press over 1/4", turn the edge over 1/4" again, and press well. You may use a finger press method too instead of an iron press.
 7-Fig. Head over to the sewing machine, stitch near the edge to create the 1/4" hem. Use edge stitch foot if you have one, the guided edge will give a professional touch of a straighter sewing line.
Sew Envelope Pillowcase With French Seam
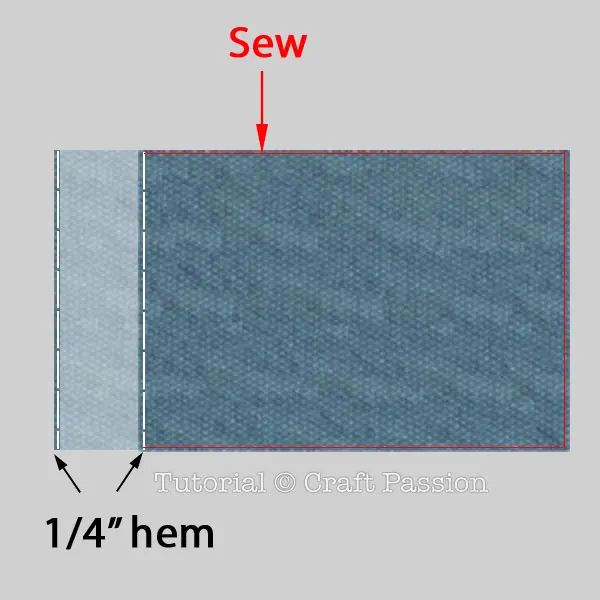 8-Fig. Now fold the pillowcase with the wrong side together and sew around the 3 marked lines with 1/4" seam allowance.
 9-Fig. Use a quarter-inch foot if you have one, otherwise, you may eyeballing the position with the seam guide on the plate of your sewing machine.
 10-Fig. Trim to neaten the raw edges of the fabric if they unravel and frays excessively.
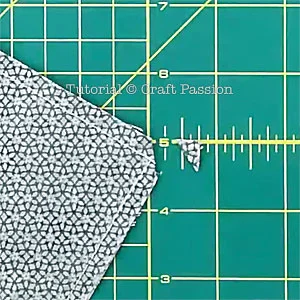 11-Fig. Clip the 2 corners to reduce bulk when the pillowcase is turned right side in.
 12-Fig. Turn the pillowcase right side in, make sure the corners are nicely turned with a right angle. Press the seam open then align the seam and press again.
 13-Fig. Fold the raw edges of the envelope flap along (1/4") and press well.
 14-Fig. Now, fold the envelope flap over, align and pin, followed by sewing the marked 3 sides with 3/8" seam allowance.
At the edges of the envelope flap, backstitching to enhance the strength of the stitches so that the thread won't snap off easily in the future.
After you have finished sewing around the 3 sides of the pillowcase, make a line of stitches in the middle of the seam allowance of the envelope flap. These stitches will make sure that the seam allowance that you have just iron stays in place in between the seam allowance.
 15-Fig. I use a general footer to sew 3/8" from the edge.
Detailed View Of The Pillowcase
 French seam give a neat seam finish where the raw edges are wrapped and hidden in the seam allowance.
 This is the envelope closure/flap. In the picture, I just turned the flap over to show that the french seam is totally enclosed in the flap and won't be seen from outside.
 The other side.
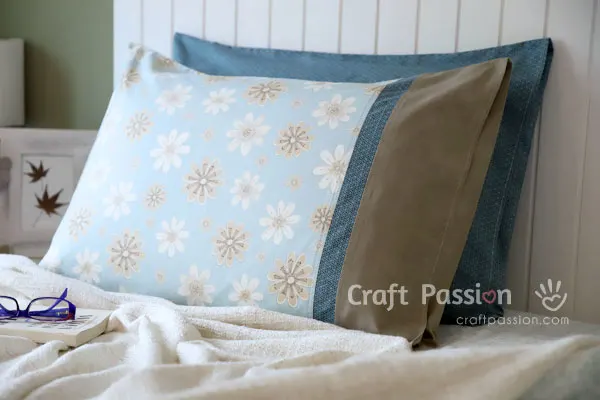 Wash your pillowcase if you haven't done so, iron it to smooth out the creases. Slip your pillow in and make sure the envelope closure tuck the pillow in nicely.
Notes
I used quilt fabric because it is what I have the most in my fabric collection. You can use other grades or materials of fabrics, for example, comb cotton fabric, fabric with higher thread count, or even satin or silk. However, I don't encourage beginners to sew the pillowcase from satin and silk. Satin and silk are slippery and are quite difficult to handle.
If you are sewing this pillowcase for a customized size of pillows, please add a seam allowance 5/8" to your fabric on top of an additional 1" min for a loose-fitting case.
Get the full article at https://www.craftpassion.com/envelope-pillowcase-french-seam/

Karen
Sunday 18th of July 2021
Hi there! Thank you for this tutorial, I'm using it to make my first-ever silk pillowcase! I have a quick question: the pillow I want to sew for is smaller in size than a standard pillow. It is 22" in width, 13" in length, and 3" in height. Using your example here, I'm trying to figure out the seam allowances but I can't quite work it out! Would you be able to let me know what your seam allowances in your diagram are? Thank you.
Craft Passion
Friday 23rd of July 2021
Good question, Karen, with the first sew of 1/4" and second sew of 3/8", the total seam allowance is 5/8". I will add this info into the pattern. Thanks for bringing up this question.