With a fluffy, jiggly, and soft velvet texture that melts in your mouth and tickles your taste buds with rich yet light cheese notes. Every bite serves you just the right amount of sweetness that isn’t overpowering, nor is this a dense sponge cheesecake that will overpower you and stick to the roof of your mouth and teeth. This best Japanese cheesecake recipe will grace you with its moistness, fluffiness, and jigglyness — heaven in a bite.
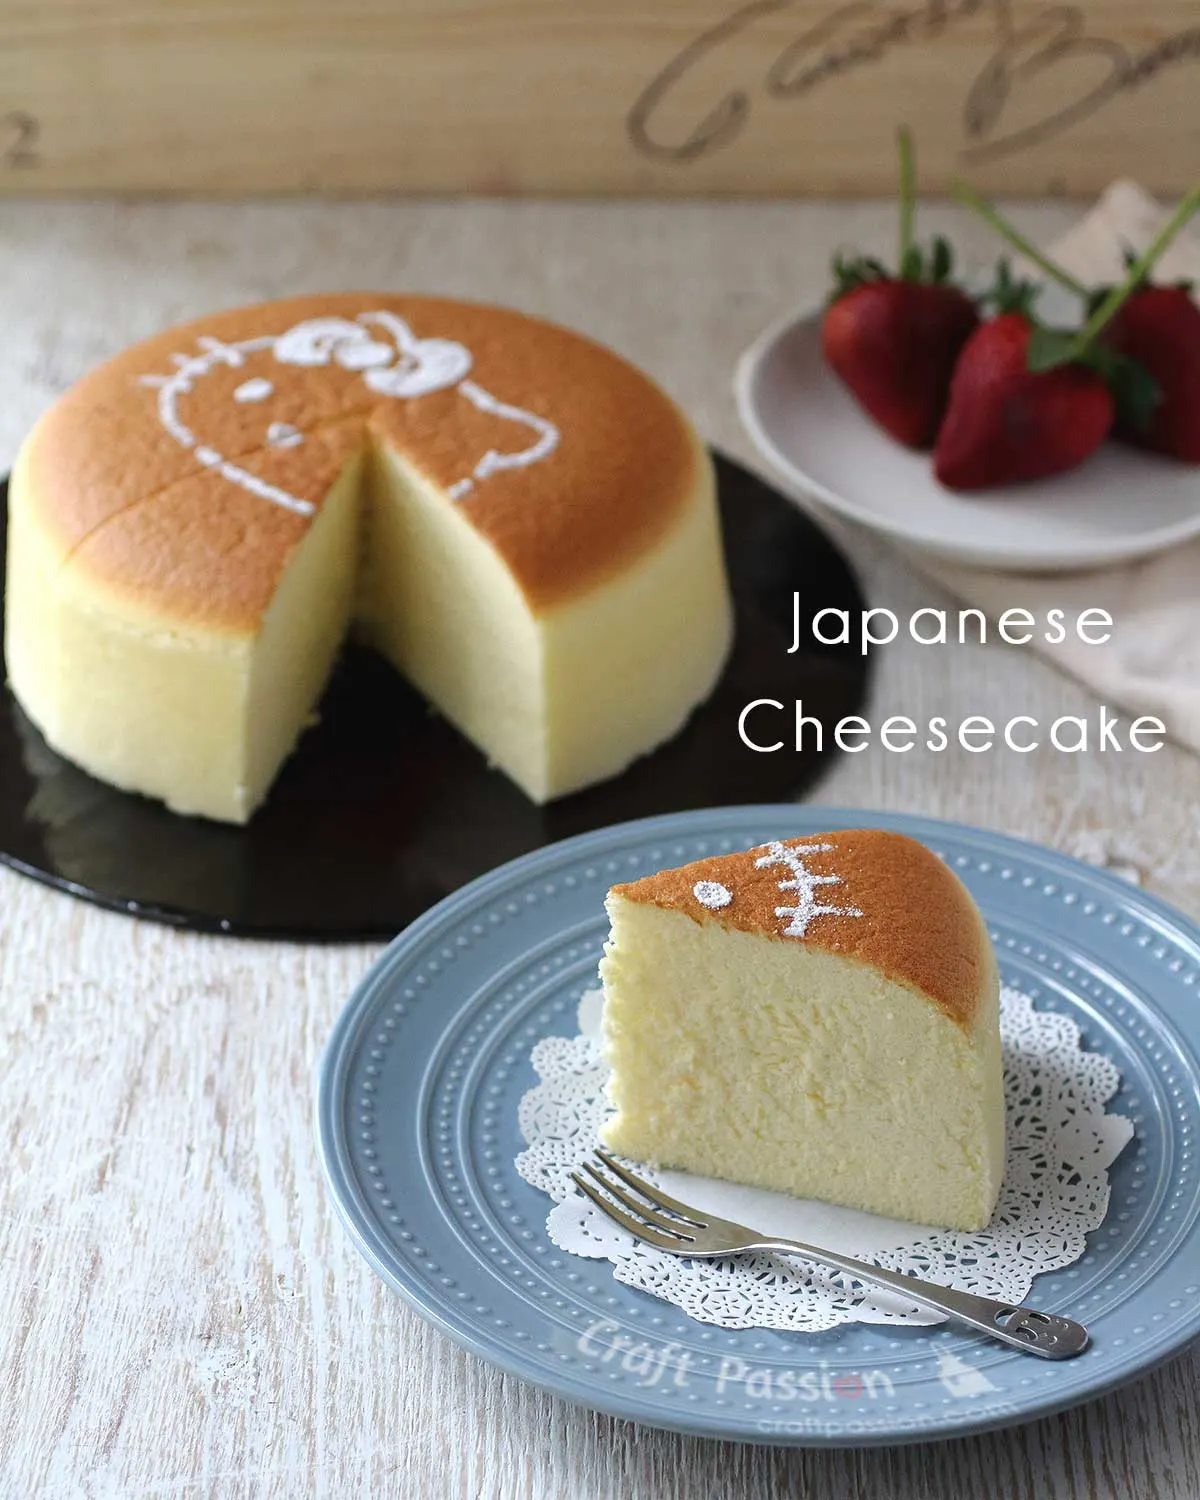
It’s been a while since my last recipe, and that’s because I have been experimenting in my laboratory (kitchen). Since this jiggly cheesecake became an Internet sensation and café trend, I’ve been determined to bake the perfect cheesecake. I want it to be airy like a chiffon cake while still having the smooth, creamy texture and jiggliness that is unique to a Japanese cheesecake.
I spent weeks trying out different recipes with different techniques and making adjustments to the oven temperature, cake batter, and even the way I prepare my cream cheese mixture. The main problem I encountered was in perfecting the appearance. Most of them were acceptable, but I had some that failed miserably; however, they all tasted delicious, even though they failed to meet my presentation standards.
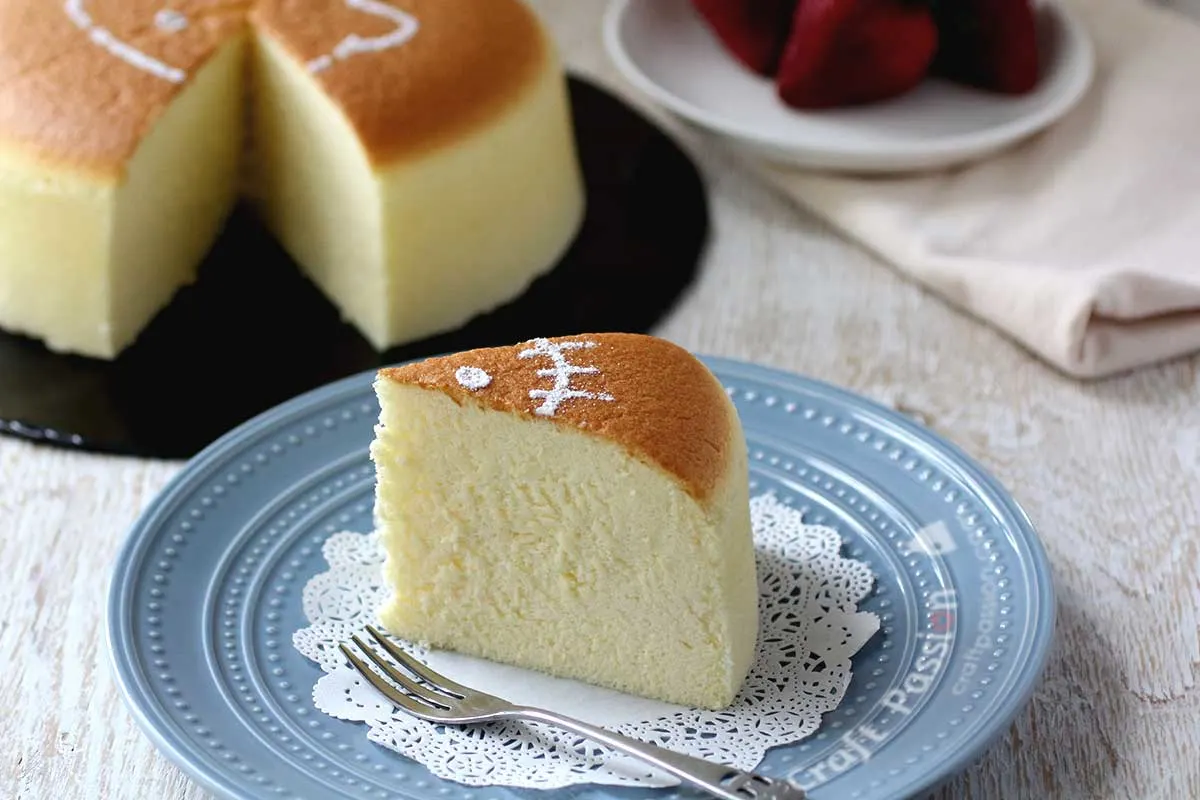
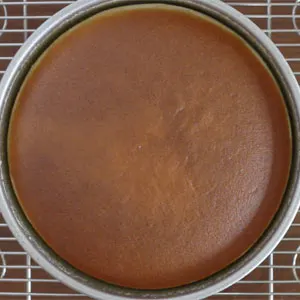
What do I mean by a “failed” Japanese cheesecake? If you have seen this jiggly cheesecake before, you will know that they are supposed to have a smooth, slightly domed surface, straight sides, cottony fluffy texture, and moist soufflé-like cake crumbs. If my cheesecake doesn’t contain any of these characteristics, it will be classified as a “failed cake”, and it’s back on the drawing board. What a perfectionist I am!
After a thousand tweaks and tries later, today I proudly present to you a delicious, light, pillowy, soft, jiggly Japanese cheesecake recipe that is adaptable to most conventional ovens with top and bottom heating (without the fan on).

Not Your Regular American Cheesecake
Japanese Cheesecake is also known as Japanese cotton cheesecake, Japanese soufflé cheesecake, and light cheesecake. The recipe was created by Japanese chef Tomotaro Kuzuno who was inspired by a local käsekuchen cheesecake (a German variant) during a trip to Berlin in the 1960s.
As you can probably tell by the variations of its names, it is well known for its wobbly, jiggly outlook and light, soft, airy texture similar to that of chiffon cake. The baking process is special as it uses meringue instead of baking powder for the cake to rise. The introduction of meringue causes this sponge-type cheesecake to have a tall and bouncy structure due to the air trapped inside it. It is much lighter and less sweet than your regular cheesecake. Hence, it makes the perfect dessert for those who prefer a lighter finish after a meal. Since it’s less sweet, it makes a smaller dent in your calorie intake for the day too!
Ingredient Notes
Here are some noteworthy highlights on some basic ingredients that I adapted from the original recipe. To attain the perfect Japanese fluffy cheesecake, take note of the stipulations of certain key ingredients.
- Cream Cheese: I only used Philadelphia cream cheese for my cheesecakes, so I cannot guarantee the recipe will work with other brands.
- Eggs: I used large eggs, with yolks weighing approximately 118g in total. For best results, it’s recommended to separate the yolk and white using cold eggs and let them sit at room temperature while preparing the cream cheese mixture. This way, the egg white mixture will be at an optimal temperature to form the meringue.
- Sugar: Caster sugar is recommended as it is slightly finer than fine granulated sugar. If you don’t have caster sugar, lightly grind the fine granulated sugar so it is broken down into finer pieces. This is crucial for your soft peaks to form nicely from your beaten egg whites.
- Do not use powdered sugar as it contains cornstarch.
- The sugar can be adjusted slightly for a sweeter cheesecake, or you can dust the cake with icing sugar.
- Unsalted butter: This is important as you want to be able to control the amount of salt that goes into your batter.
- Flour: You can substitute 60g of cake flour with a mixture of 55g of all-purpose flour and 5g of cornstarch. Remember to sift the flour mixture to achieve a soft cream cheese texture. Do not add any baking powder since this cake already uses the meringue as the leavening agent.
- Cream Of Tartar: Cream of tartar is a natural meringue stabilizer. If you do not have the cream of tartar, replace it with 1/2 a tsp of lemon juice.
- Flavor: By replacing the lemon zest (in the Cream cheese batter) with 1.5 tsp of vanilla extract, you can have a Japanese soufflé cake that has a more vanilla twist to it.
Baking Pan Notes
Baking Pan
I recommend that you use a 3″ tall non-black round cake pan of 8″. If you cannot find a 3″ high cake pan, then replace it with a 9″ round cake pan that is at least 2.5″ tall.
Use a 1-piece punch-out cake pan, not a springform pan or any other seamed pan, as water may seep in from the sides of the cake pan from the hot water bath. If you only have a springform pan, it needs to be covered with two to three layers of aluminum foil to prevent water from seeping in.
Greasing & Pan Lining
Remember to grease the side of the pan with butter and line only the bottom of the pan. If you want to line the side of the pan, please grease the parchment paper after line. As this Japanese jiggly cake is extremely soft, it may stick to the bottom of the pan and the sides as well and ruin the presentation of the cake. If the cheesecake is stuck with the parchment paper while rising, the cake will be pulled and end up cracking.
FAQs For Perfecting the Japanese Cheesecake Recipe
Having the right ingredients and equipment is essential for successfully baking a cake. In addition, make sure to go through the following frequently asked questions, as they will help you achieve the desired outcome.
1. What Is Meringue and how to make it?
Meringue is created by whisking together egg whites and sugar until they turn into delicate white foam. While beating the egg whites, gradually add the fine sugar to the white mixture. This process involves incorporating air into the egg whites, producing a foam that adds volume and lightness.
In this recipe, we want our meringue to be in soft-peak form, so don’t overbeat it. Hence control the strength of your dominant hand when mixing with a whisk or even while using a stand mixer or electric mixer. Here is the video about whipping meringue to the perfect peaks you want to achieve.
2. Why Soft Peak and Not Stiff Peak?
While many similar cakes might opt for firm or stiff peaks, aiming to make the cake lighter and taller, this isn’t good for this souffle-type cheesecake. Why? here are the reasons:
a. Stiff-peak meringue is difficult to fold into the cream batter. If you are not careful enough, you may deflate the majority of the tiny bubbles in the meringue.
b. If you succeed in folding them perfectly, the extra air will raise the cake too high, causing it to crack.
3. How To Fold Meringue into the cake batter?
As this is a Japanese-style cheesecake, to attain that quintessential jiggle, it is important to perfect the meringue folding. When folding the egg white meringue into the cheese mixture, you need to be gentle to minimize the deflation of tiny pockets of air in the meringue. Ensure the cheese mixture and the meringue are well incorporated and come together nicely.
You may refer to my speed-up video on how to do it with a whisk. Here is another video showing how to fold your meringue into the cream batter using a spatula.
4. What is Water Bath and why it matters?
Baking a cheesecake using the Water Bath technique (also known as Bain-marie) requires placing the cake in a large pan filled with boiling hot water. This is crucial to achieve the desired jiggly soufflé-like texture. The steam created by the water bath keeps the cake moist and helps it rise evenly, preventing it from baking unevenly with the sides baking faster than the middle. Without it, the cake will not be fluffy and may crack due to the higher temperature.
5. What is the baking temperature?
Temperature is the main reason that most cheesecakes crack and do not achieve the soft, airy texture unique to souffle cheesecakes. Thus, be aware of your baking temperature!
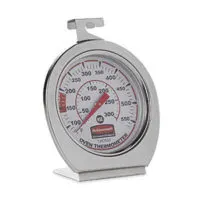
We use a two-step temperature method for baking. The recipe temperature should be as close to the in-oven temperature as possible. Each oven is different, so if you are not sure if the temperature inside your oven is as accurate as what you have set on the control panel, get an oven thermometer to check.
The oven heating setting is top and bottom, without fan force. I baked this in a conventional oven. Thus, I can’t really tell for sure if your oven has different settings and how to set them for this recipe.
1. Preheat oven to 200°C / 392°F – 20 minutes.
2. Bake our cake with a water bath on the bottommost rack – 18 minutes.
3. Set the oven to 140°C / 284°F and let the heat in the oven drop gradually with the door closed – 30 minutes.
4. Turn off the oven and leave the cake in the closed oven – 30 minutes.
5. Remove the water bath and open the oven door slightly – 30 mins for the cake to cool.
Letting the Japanese jiggly cheesecake cool down gradually is important, as it will gradually shrink to a smaller size and maintain its shape evenly.
Why does my Japanese cheesecake have a cracked top?
There are several reasons why a cake can crack. It could be due to the ingredients used, the meringue, the technique used to fold the meringue, or even the oven itself. To determine the exact cause of the crack, it’s important to carefully analyze each of these factors one by one.
Why is my Japanese cheesecake not fluffy?
It happened to me many years ago when I baked my first meringue-based Angel cake. The cake split into a dense, moist bottom layer and a light, dry upper layer. However, this never happened with Japanese Cheesecake. I assumed that the meringue, folding technique, and oven temperature were the reasons behind it. To avoid any mishaps in these areas, please refer to the FAQs above and follow the instructions closely.
Another possible cause of this issue may be your oven. If your oven’s temperature is uneven or inaccurate, it could lead to this problem.
If you’re dealing with a meringue-based cake recipe for the first time, don’t get discouraged if your cake turns out this way. Remember, practice makes perfect.


How To Serve and Store The Japanese Cheesecake
Unmold the cake from the pan once your hands are able to handle the temperature. Simply flip it on a flat surface lined with parchment paper or a cake board. Remove the lined paper at the bottom of the cake, then flip it over to your plate or another piece of cake board. Please note that this cake is only jiggly when it is still warm. Let it cool down to room temperature before chilling it.
My cake measures about 7.5″ x 3″ (peak of the dome) after cooling down.
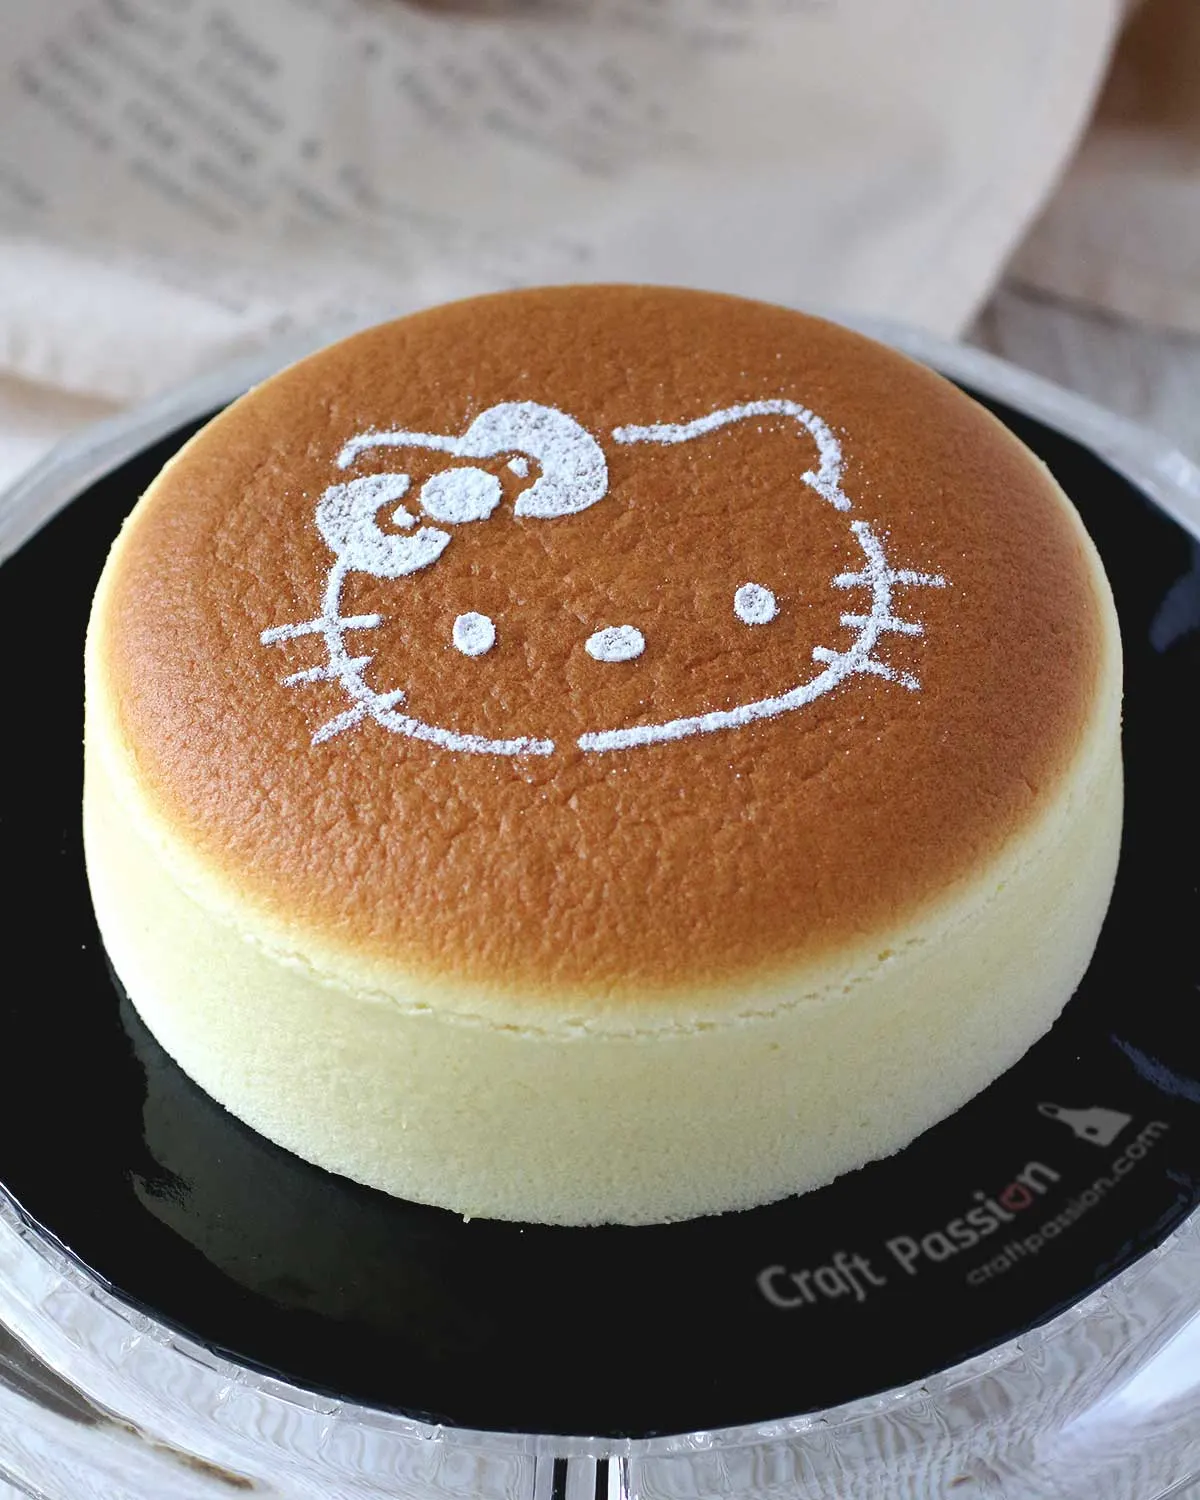
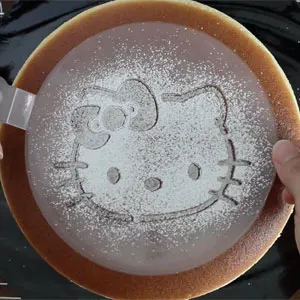
Decorate the cake with powdered sugar, icing sugar, or “confectioner snow powder.” Instead of sprinkling it all white, I used cake stencils to make some designs.
The cheesecake is usually served chilled with apricot jam, honey, or fresh berries. However, I recommend trying it plain to appreciate its unique texture. To cut the cake, use a warm knife and wipe it clean before making the next cut.
If this cake is not finished within the day, it must be stored in an airtight container in the fridge. However, I do not suggest freezing it, as it may affect the texture of the cheesecake.
If you have tried and loved this Japanese cheesecake recipe, I have more recipes in my recipe section for you to explore. However, if you are interested in other cheesecake recipes, you can always try my Matcha Cheesecake, Blueberry Cheesecake, and Pumpkin Pie Cheesecake. For those who want to indulge without feeling guilty, Low-Carb Cheesecake and Burnt Cheesecake are both keto desserts that are perfect for those following a keto or low-carb diet.
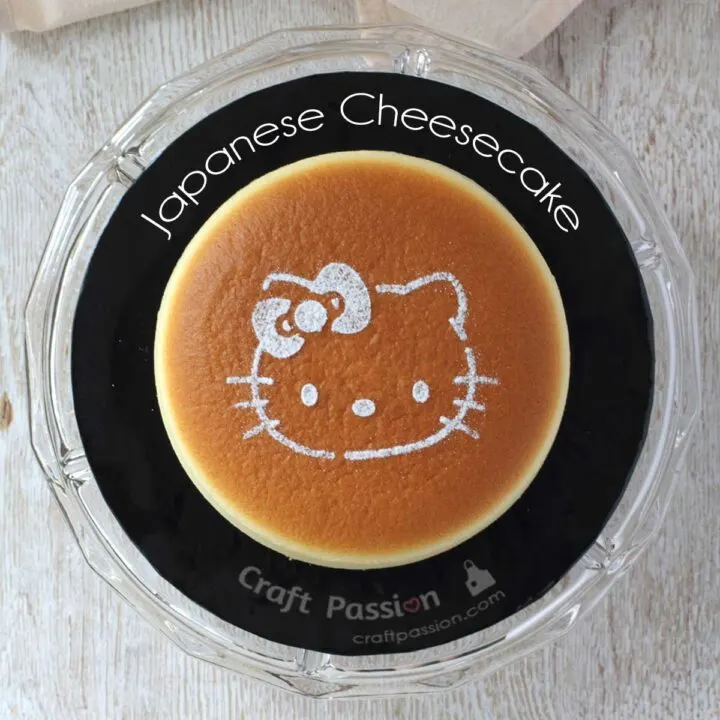
Japanese Cheesecake Recipe
This is the best Japanese Cheesecake recipe that I have ever had.
Recipe slightly modified from I Eat I Shoot I Post
Ingredients
CREAM CHEESE MIXTURE
- 250 gram Philadelphia cream cheese
- 6 egg yolks (Update: I measured mine, it was about 118g in total for the yolks)
- 70 gram castor sugar (This is half of the total 140 gram)
- 60 gram unsalted butter
- 100 ml full-cream milk or whole milk
- 1 Tbsp lemon juice
- 2 tsp lemon zest
- 60 gram cake flour / superfine flour
- 20-gram cornstarch
- 1/4 tsp salt
MERINGUE
- 6 egg whites (Update: I measured mine, it was 264g for the whites of 6 eggs)
- 1/4 tsp cream of tartar
- 70 gram castor sugar (This is half of the total 140 gram)
Instructions
- Preheat the oven to 200°C / 392°F (Top and bottom heat, no fan force) for at least 20 minutes before baking your cake batter.
- Grease an 8″ x 3″ cake pan with butter, and line the bottom with baking or parchment paper.
- Whisk cream cheese in a large bowl till smooth over a warm water bath
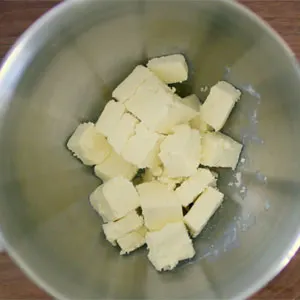
Add yolks and whisk
Add half the sugar (70 grams) and whisk
Warm milk and butter in the microwave (high, 1 min) or stove, and whisk into batter.
Add salt, lemon juice, lemon zest, and whisk.
Remove from the water bath, sift cake flour and corn starch, and fold into a mixture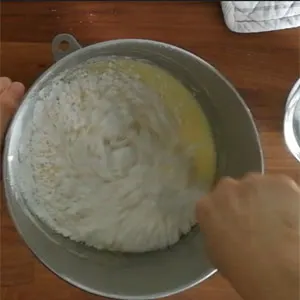
- Whisk egg whites at low speed till foamy.
Add cream of tartar and beat at high speed till bubbles become very small but still visible.
Gradually add the balance of 70 grams of sugar and beat till soft peaks - Fold whites into batter 1/3 at a time

- Pour into the cake pan and tap the pan on the counter to release air bubbles
- Bake with a water bath on the bottommost rack in a preheated 200°C / 392°F for 18 mins, then lower to 140°C / 284°F for another 30 mins (let the heat in the oven drop gradually with the door closed) and turn off the oven and leave the cake in the closed oven for another 30 mins. Remove the water bath and open the door of the oven slightly at the end of the baking for another 30 minutes for the cake to cool.

Notes
Get the full article at https://www.craftpassion.com/light-japanese-cheesecake/
Recommended Products
As an Amazon Associate and member of other affiliate programs, I earn from qualifying purchases.
Nutrition Information:
Yield: 12 Serving Size: 1Amount Per Serving: Calories: 276Total Fat: 15gSaturated Fat: 9gTrans Fat: 0gUnsaturated Fat: 5gCholesterol: 129mgSodium: 174mgCarbohydrates: 27gFiber: 0gSugar: 14gProtein: 7g
This is an estimated value based on my ingredients, it may be different if you are using different brands. This data was provided and calculated by Nutritionix on 5/3/2019.
Just in case you haven’t watched the video I posted above.
Here are some screens captured from the video:





Alexandra
Thursday 18th of January 2024
Thank you for sharing this recipe and all the very helpful tips. The video is also great and easy to follow. I made this cheesecake last night for my son’s birthday. We love Uncle Tetsu’s cheesecake sold around Toronto. This recipe is very reasonable to follow, a bit too long to bake and cool down but it was worth to maximize moisture. I made it in a 9” spring form, wrapped in two layers of foil, so moisture wouldn’t get in. I will definitely purchase the correct 8 x3 inch form or 2 smaller ones, to get a taller cake in the future. No cracks, and the colour and flavour turned out great.
But one Problem: The bottom third did not raise, it came very chewy, with no bubbles at all, almost like a custard or doughy crust. Not raw but no airbubbles and dense. Why?? I used boiling water bath and a towel exactly as instructed. Should I used cold or not as hot water bath? Thanks for any feedback
Joanne Loh
Thursday 18th of January 2024
Glad that you love this recipe. Regarding your question, it is a very common problem that bakers faced when trying out meringue based recipe. Moist of the time it is due to improper mixture of the white and yellow batter that cause the meringue to get deflated. Try again with a more gentle stroke by folding in the meringue into the batter. You will get better in next bake.
Lisa
Monday 11th of December 2023
I love this recipe, I have made it many many times since the first time during COVID since I couldn’t buy it. I do find that a firmer egg white works better for me and nearly perfect very time. Very little can go wrong and it always tastes great no matter the size it turns out.
Manny
Wednesday 13th of December 2023
@Lisa, have you tried making a 6” cake? If so can you share the baking temperatures and time?
Mia
Saturday 25th of November 2023
Thanks for your recipe, notes and tips. I successfully baked one and I got so nervous when it rose about 2 inches high above the rim. The sides remain straight though once it cooled down. I am excited to make another in hopes it was not just luck lol. I wish to use a deeper 8” round pan to give room as it it rises. What are your thoughts on this?
Craft Passion
Tuesday 28th of November 2023
Glad to know the recipe works well for you. A deeper pan will, definitely, a better choice. I am using 3" deep pan for this recipe.
Jo
Tuesday 30th of May 2023
Thank you for sharing this! This has helped me to prevent my cheesecake from cracking. I do use a slightly different recipe, and rice flour only due to a gluten allergy, but it's a perfect bake every time thanks to you.
Craft Passion
Tuesday 7th of February 2023
The cornstarch makes the flour lighter thus the fluffiness. You can bake without it and compromised on the end result.