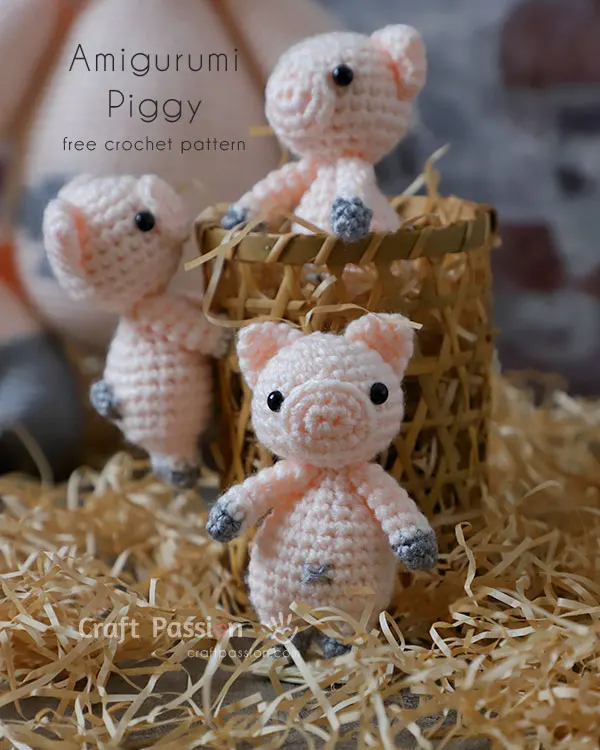
Remember the little piggies that were trailing behind Pegilop, the crochet pig amigurumi pattern on our previous post? After familiarizing themselves with their friends from the animal wildlife collection, these tiny piglets 🐷 are ready to meet you officially! Learn how to create Pupu and her siblings with the free piglet crochet pattern and detailed instructions!
Not sure what to use it for? Make them into keychains, desk decorations, fridge magnets, gift toppers, bag charms, and stuffed animal garlands, or hang them on a baby mobile & stroller.

Who Is Pupu?
Being the firstborn of the litter, Pupu is courageous, responsible, and protective over her siblings. She can sense danger easily and would do anything to keep her brothers and sisters out of harm’s way. While she may sometimes come off as naggy and bossy, her siblings understand that is just how she showers them with love and care. When their mother isn’t around, Pupu is the one they turn to when they need help.
Pupu, Piglet Crochet Pattern
scroll ⬇️ to get the free pattern & tutorial
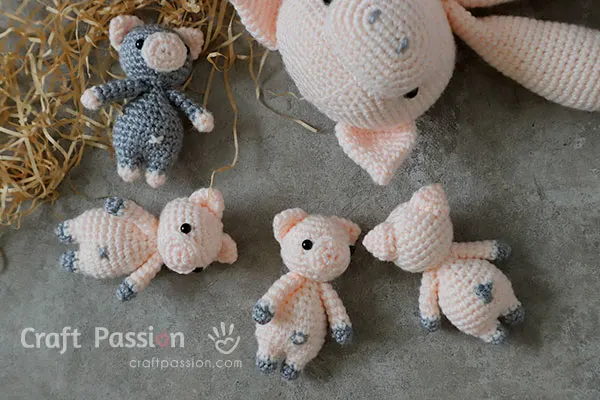
Can’t tell the pink-colored Amigurumi piglets apart? Just look at the shape of their belly buttons! Pupu has an X-shaped belly button, while the other two have a line and round-shaped belly button. If you wish to add some dirt spots on the piglets, refer to this free crochet pig amigurumi pattern to learn how to.
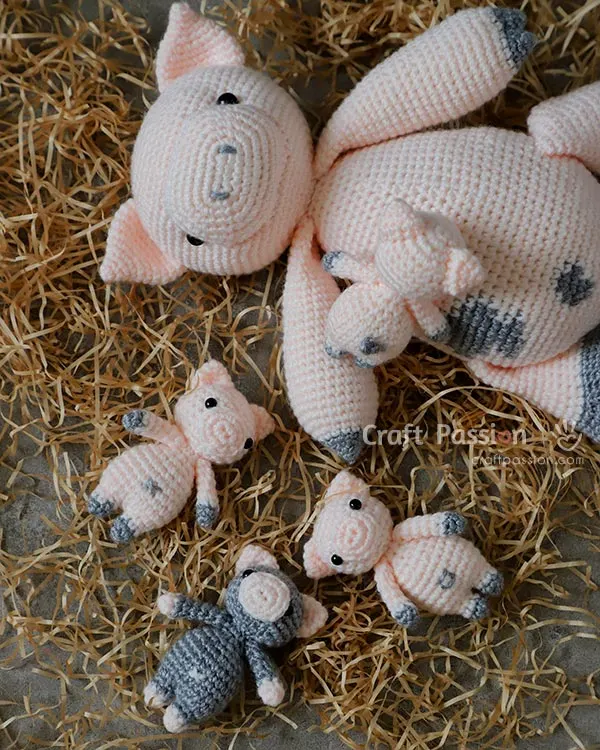
Crocheting The Piglet
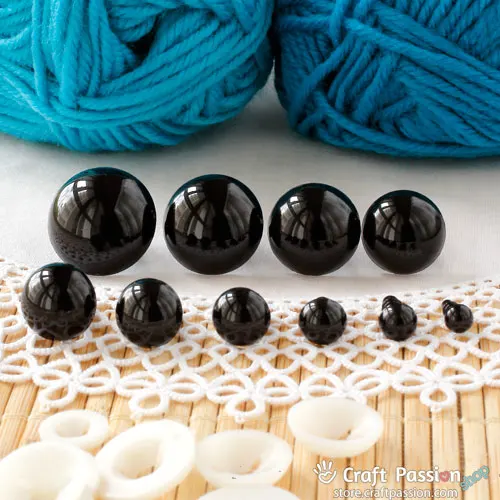
Depending on your skill level, it takes roughly an hour to complete crocheting one piglet amigurumi. The materials and tools required are acrylic yarns in pink and grey, 6 mm safety eyes, polyester fiberfill, a 2.5 mm crochet hook, a long tapestry needle, a water-erasable fabric marker, scissors, and pins.
It is also essential to understand some basic crochet terms (US terms) that we will be using for this pattern. Those include chain (ch), 2sc increase (inc), invisible decrease (inv dec), single crochet (sc), and slip stitch (slst).

Like all other amigurumi patterns, you will be working in a continuous round to crochet this piglet. For example, once you’ve completed six stitches for round 1 of the crochet piglet’s leg, move on to the second round of stitches, and so on. By following the piglet crochet pattern, you will end up with a lovely 4” Amigurumi piglet. We chose to crochet our piglets with two colors to give them some contrast. However, feel free to use a single color if you prefer!
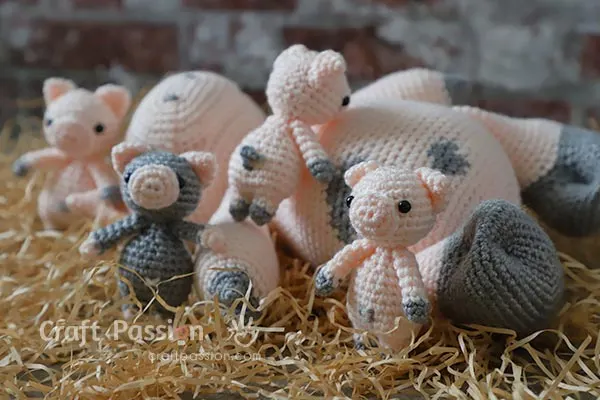
Moving on with how to create these tiny Amigurumi piglets. First, prepare the piglets’ parts by crocheting and stuffing their body, arms, legs, ears, head, and snout separately. Before connecting the crochet piglet’s head to its body, sew its snout, ears, and eyes to its head. Lastly, finish off by sewing the piglet amigurumi’s arms, legs, and tail to its body! On a side note, while safety eyes (with locking plate) are baby-safe, however, if it is a concern to you, do replace them with felt or embroidery to avoid choking hazards for children ☺

Fun Facts About Piglet
Much like human moms, mother pigs enjoy singing to their babies while nursing them. As the piglets grow older, they develop about 20 vocalizations and communicate by squealing and grunting. Once you get to know them, they’re a friendly and talkative bunch!
A trained piglet can learn its name at just two to three weeks old. Piglet can learn to respond when called and learn tricks faster than dogs.
WHAT’S NEXT:
- Start crocheting and share your completed handmade on Facebook and/or Instagram. Don’t forget to tag us, @craftpassion, so that we are able to see it.
- Pin it on Pinterest for a future Crochet List
- Share with your crochet groups for a crochet-along event.
- If you are new to crochet amigurumi, we have a comprehensive crochet guide and amigurumi guide for beginners.
- Check out more free crochet patterns to make, especially for Crochet Animals, and the mama crochet pig.
- If you’re a fan of pigs, take a look at our non-crochet piggy crafts:-

Amigurumi Piglet Crochet Pattern
Get the free amigurumi piglet crochet pattern to make a cute family with pig mama. Perfect for kids and friends who like pigs.
Materials
- Acrylic yarn in Pink color
- Acrylic yarn in Gray color
- 6mm Safety Eye, 1 pair
- Polyester fiberfill
Tools
- 2.5mm Crochet Hook
- Darning needle (Long)
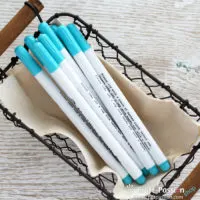
- Fabric marker (water erasable), to mark the sewing positions
- Scissors
- Pins
Instructions
Abbreviations
(In US terms)
ch: chain
inc: 2sc increase
inv dec: invisible decrease
sc: single crochet
slst: slip stitch
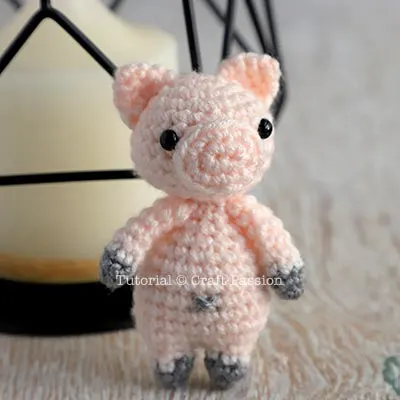
AMIGURUMI PIGLET CROCHET PATTERN
BODY & LEGS
This pattern is made by joining two leg pieces together followed by crocheting the body.
To make the first leg piece, Leg 1:
Begins With Gray Yarn.
Round 1: sc 6 in magic ring. {6}
Round 2: sc around. {6}
Change yarn to pink.
Round 3 - 4: sc around. {6}
Fasten off and leave a long end for sewing.
To make the second leg piece, Leg 2:
Begins With Gray Yarn.
Round 1: sc 6 in magic ring. {6}
Round 2: sc around. {6}
Change yarn to pink.
Round 3 - 4: sc around. {6}
Round 5: This will be where the two leg pieces join. Continue to inc 1 time on Leg 2, then inc around (6 times) on the Leg 1, followed by inc 5 times on the Leg 2. (you may use excess yarn from the first piece to tighten any gaps between the two pieces). {24}
Round 6 - 10: sc around. {24}
Stuff the legs firmly with polyester fiberfill.
Round 11: [inv dec, sc 4] around. {20}
Round 12: [sc 2, inv dec, sc] around. {16}
Round 13: [inv dec, sc 2] around. {12}
Round 14: [sc, inv dec] around. {8}
Round 15: sc around. {8}
Stuff the body firmly with polyester fiberfill.
Fasten and leave a long tail for sewing.
HEAD
With Pink Yarn
Round 1: sc 6 in magic ring. {6}
Round 2: [inc] around. {12}
Round 3: [inc, sc] around. {18}
Round 4: [sc 2. inc] around. {24}
Round 5 - 9: sc around. {24}
Install safety eyes at Round 6, 5 sts apart.
Round 10: [sc, inv dec, sc] around. {18}
Round 11: [inv dec, sc] around. {12}
Stuff with polyester fillings.
Round 12: [inv dec] around. {6}
Fasten and hide yarn end.
EARS
Make 2 with Pink Yarn
Round 1: sc 3 in magic ring. {3}
Round 2: [inc] around. {6}
Round 3: [inc, sc] around. {9}
Round 4: [sc 2. inc] around. {12}
Fasten.
Flatten and sew to close the bottom. Leave a long tail for sewing.
SNOUT
Round 1: ch 3, Inc in 2nd ch from hook, 5sc in the last ch. Continue on the other side of the chain base, 3sc in the last ch, slst to first st. {10}
Round 2: ch, inc, sc 2, [Inc] 3 times, sc 2, [Inc] 2 times, slst to first st. {16}
Fasten and leave a long tail for sewing.
ARMS
Make 2
Begins With Gray Yarn.
Round 1: sc 6 in magic ring. {6}
Round 2: sc around. {6}
Change yarn to pink.
Round 3 - 8: sc around. {6}
Fasten and leave a long tail for sewing.
TAIL
Round 1: ch5, slst in 2nd ch from hook, ch2
Fasten and leave a long tail for sewing.
How To Assemble The Piglet Amigurumi

- Crochet parts for Amigurumi Piglet and stuff them according to the crochet pattern: Body & Legs, Head, Snout, Ears, Arms, and Tail.
- Sew Snout and Ears to Head:
a. Place snout in between the eyes, and sew around.
b. Mark the top of the head with 2 C-Shaped lines for the ears' positions; begin at Round 2 extend to Round 6, approximately 8 stitches apart at the top and 14 stitches apart at the bottom. Pin the ears to the marking and sew around. - Sew Head to the Body:
Position the head on the top of the body. Mark the position and pin to secure it if necessary.
Sew to join the head to the body. - Sew Arms:
Sew arms at the side, next to the seam of the head and body. - Lastly, sew the tail to the back of the body.
 To have a fun piglet group, you may use gray yarn as the main color too, play around the color combination to build a herd of interesting piglet litters.
Notes
Depending on the speed and hours you are spending on the project, the total time needed is only an approximation.
Stuff the parts firmly and densely to give your amigurumi doll a good shape.
You are allowed to crochet and sell the Amigurumi Piglet on small-scale production. However, you are not allowed to republish the patterns and pictures in any form without the prior written permission of Craft Passion.
Get full article at https://www.craftpassion.com/amigurumi-piglet-crochet-pattern/
Recommended Products
Purchase the exact same material and tool used in this pattern from Craft Passion Shop.

Debra scampoli
Saturday 20th of May 2023
Thank you so much once again for your beautiful patterns I appreciate every single one I can’t wait to get started on my little piggies LOL… very grateful Debra Scampoli